


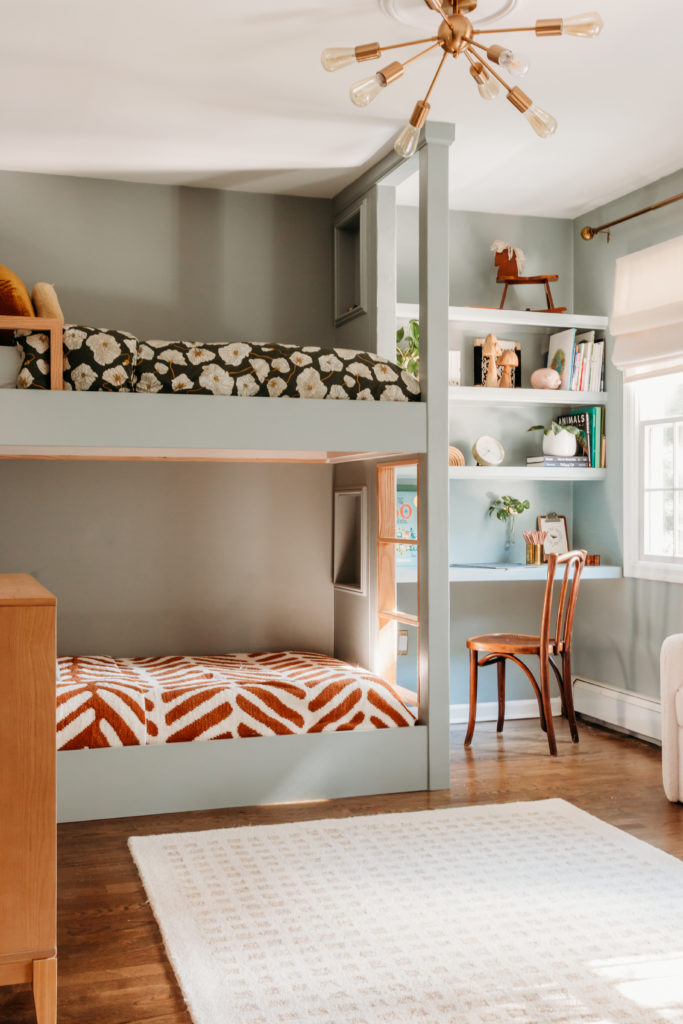
The bunk room has been completed for a few months now, and I can’t believe I haven’t shared here! There are still some small changes I need to make here and there but my vision has come to fruition and I couldn’t be happier.
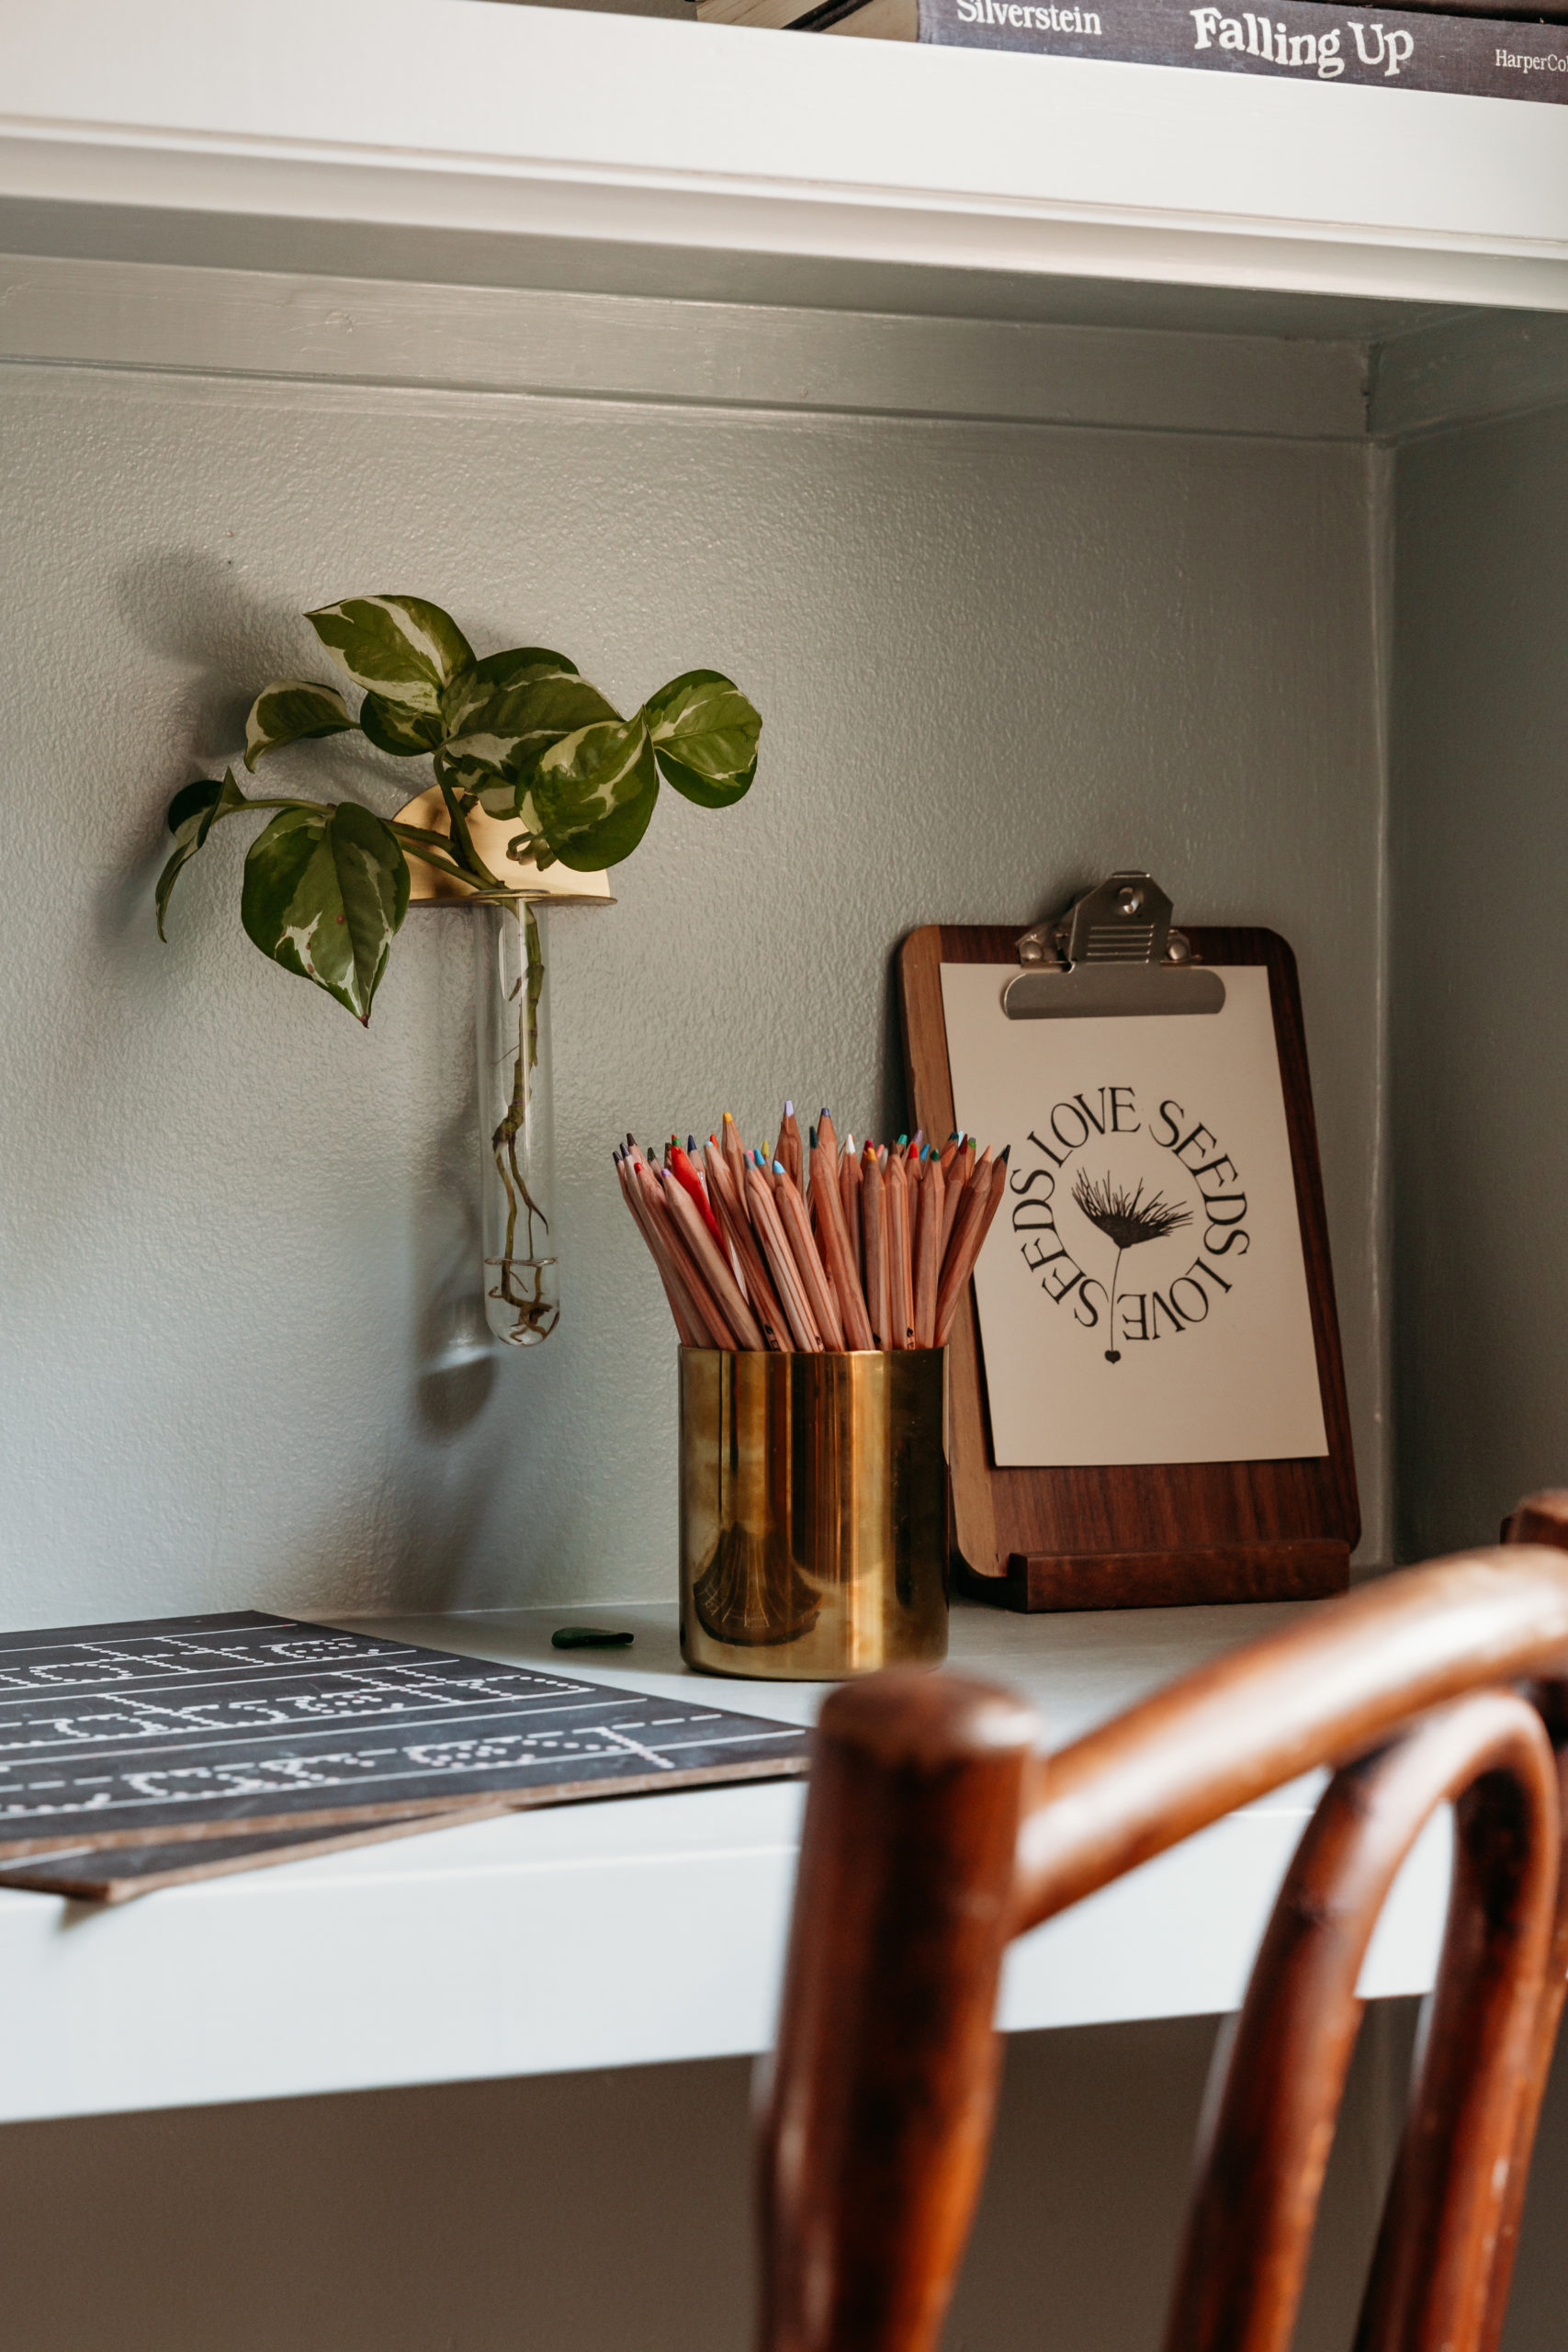
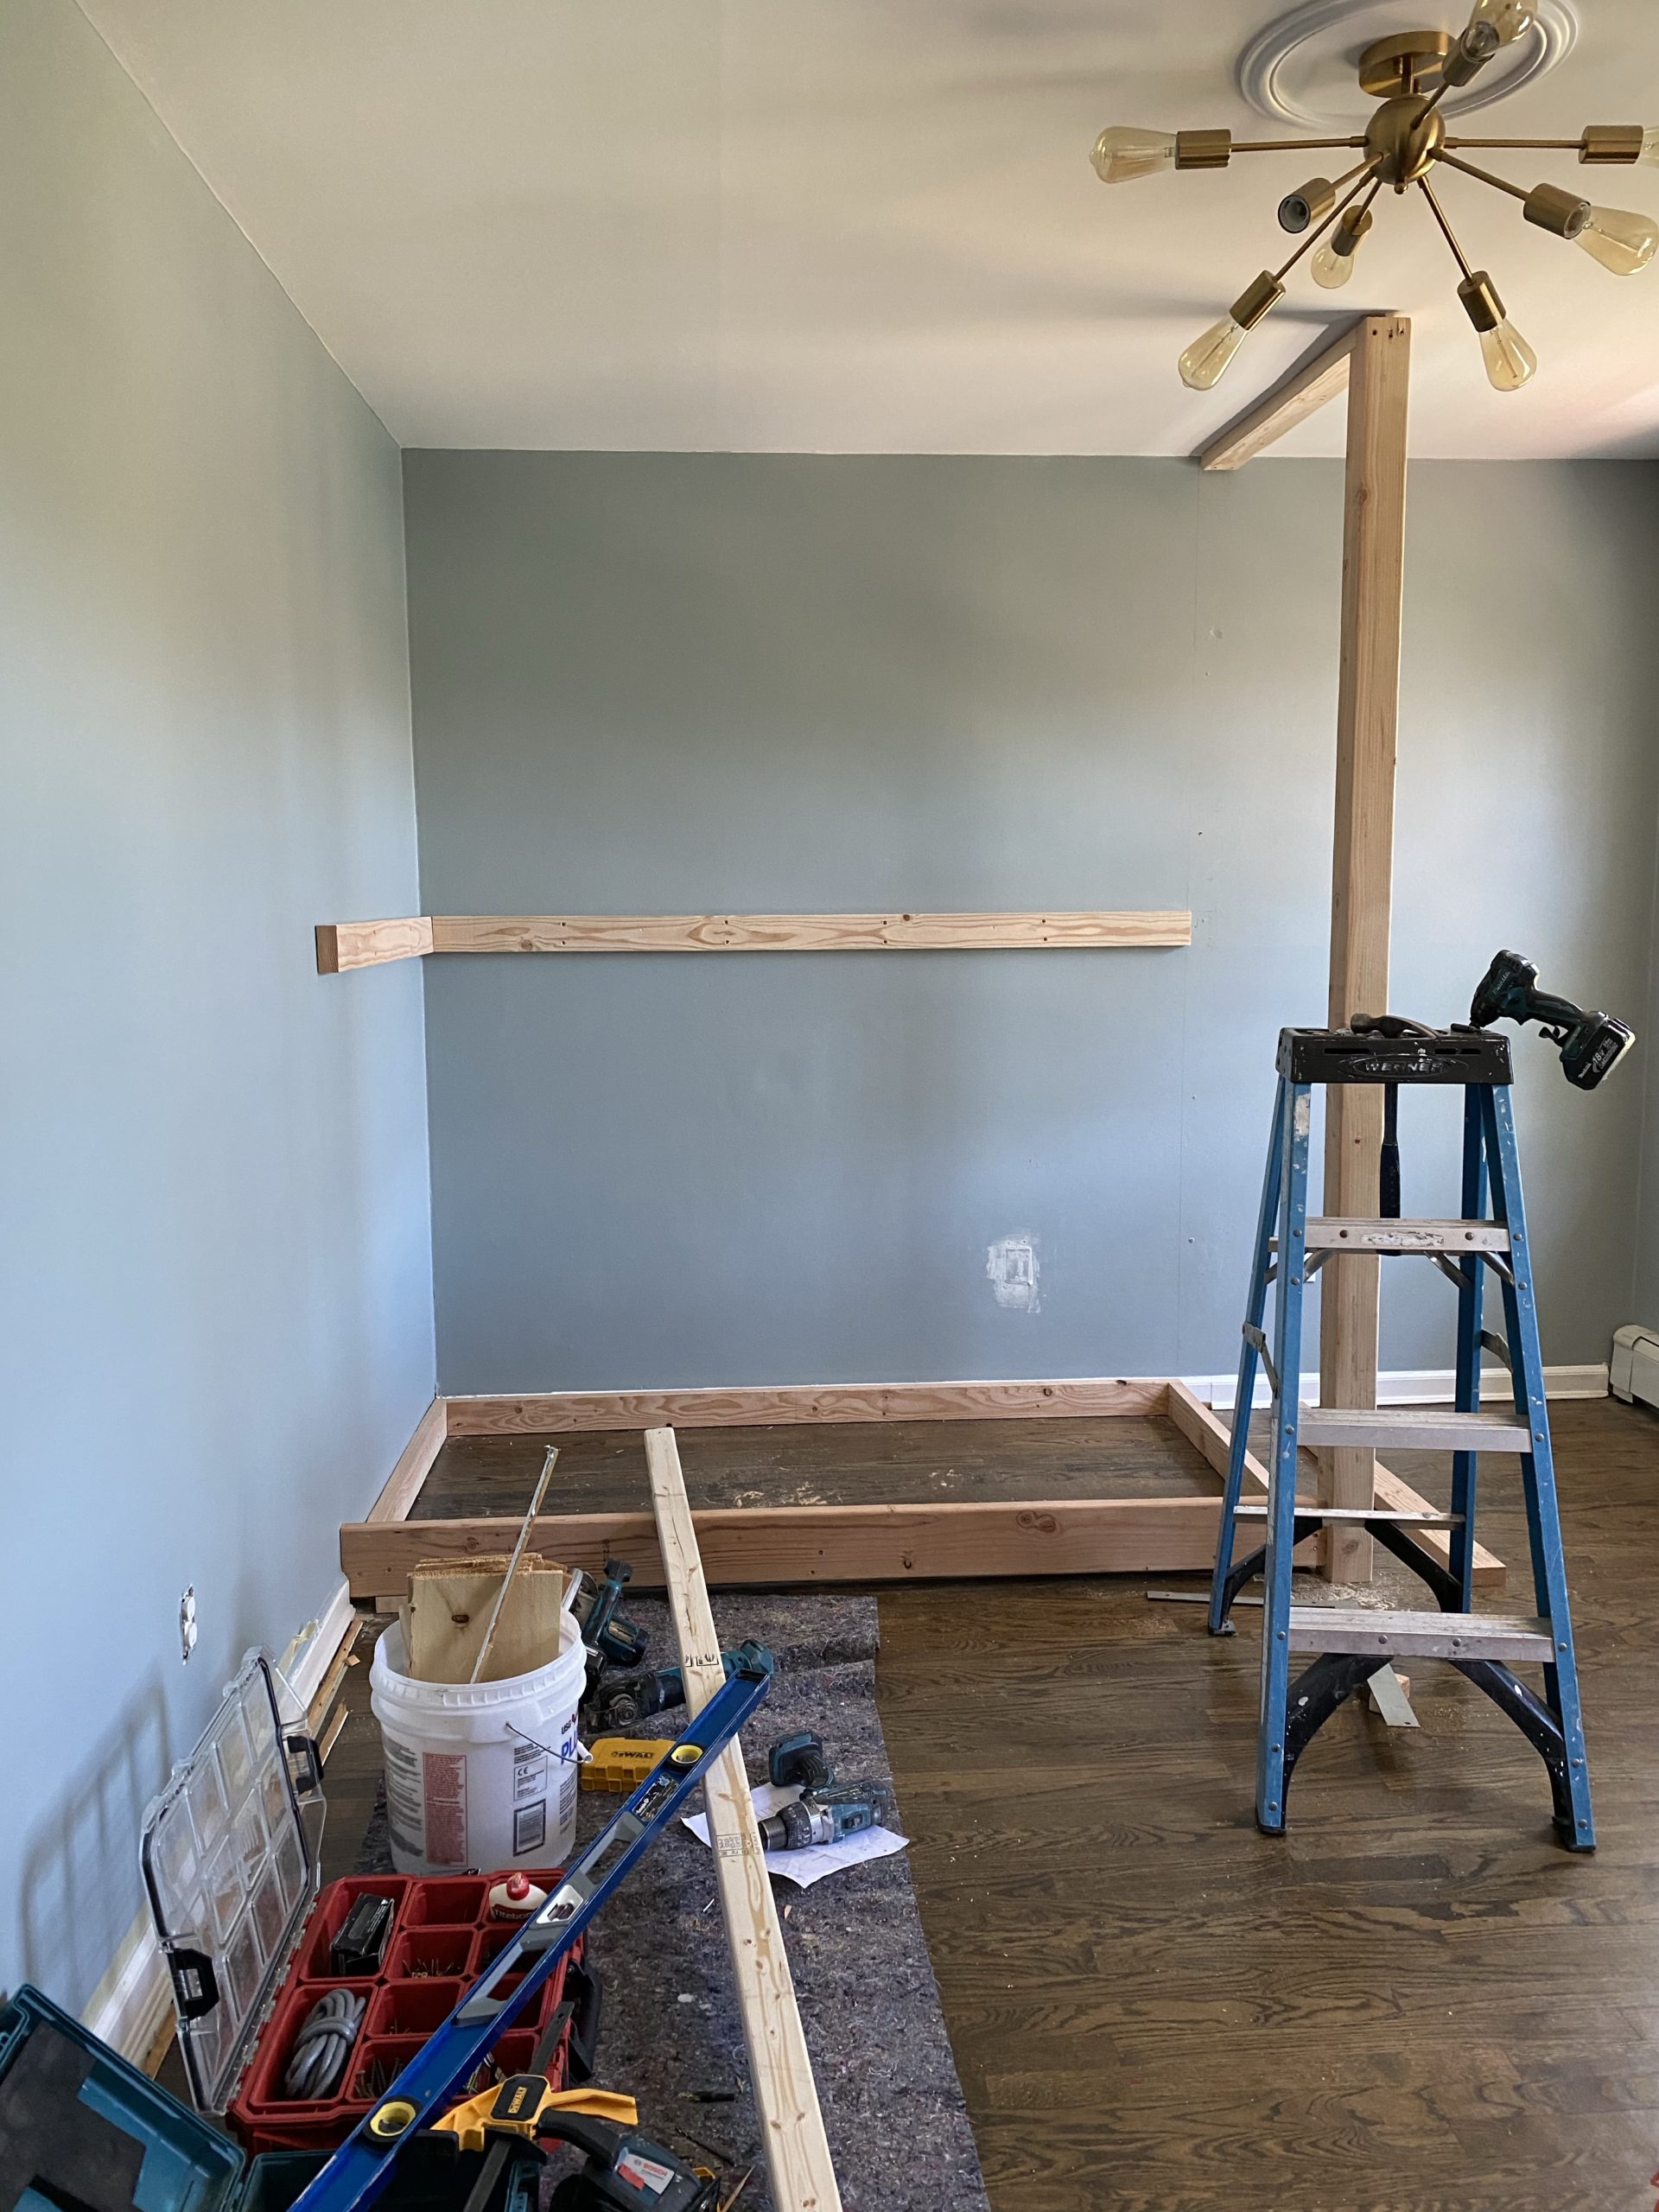
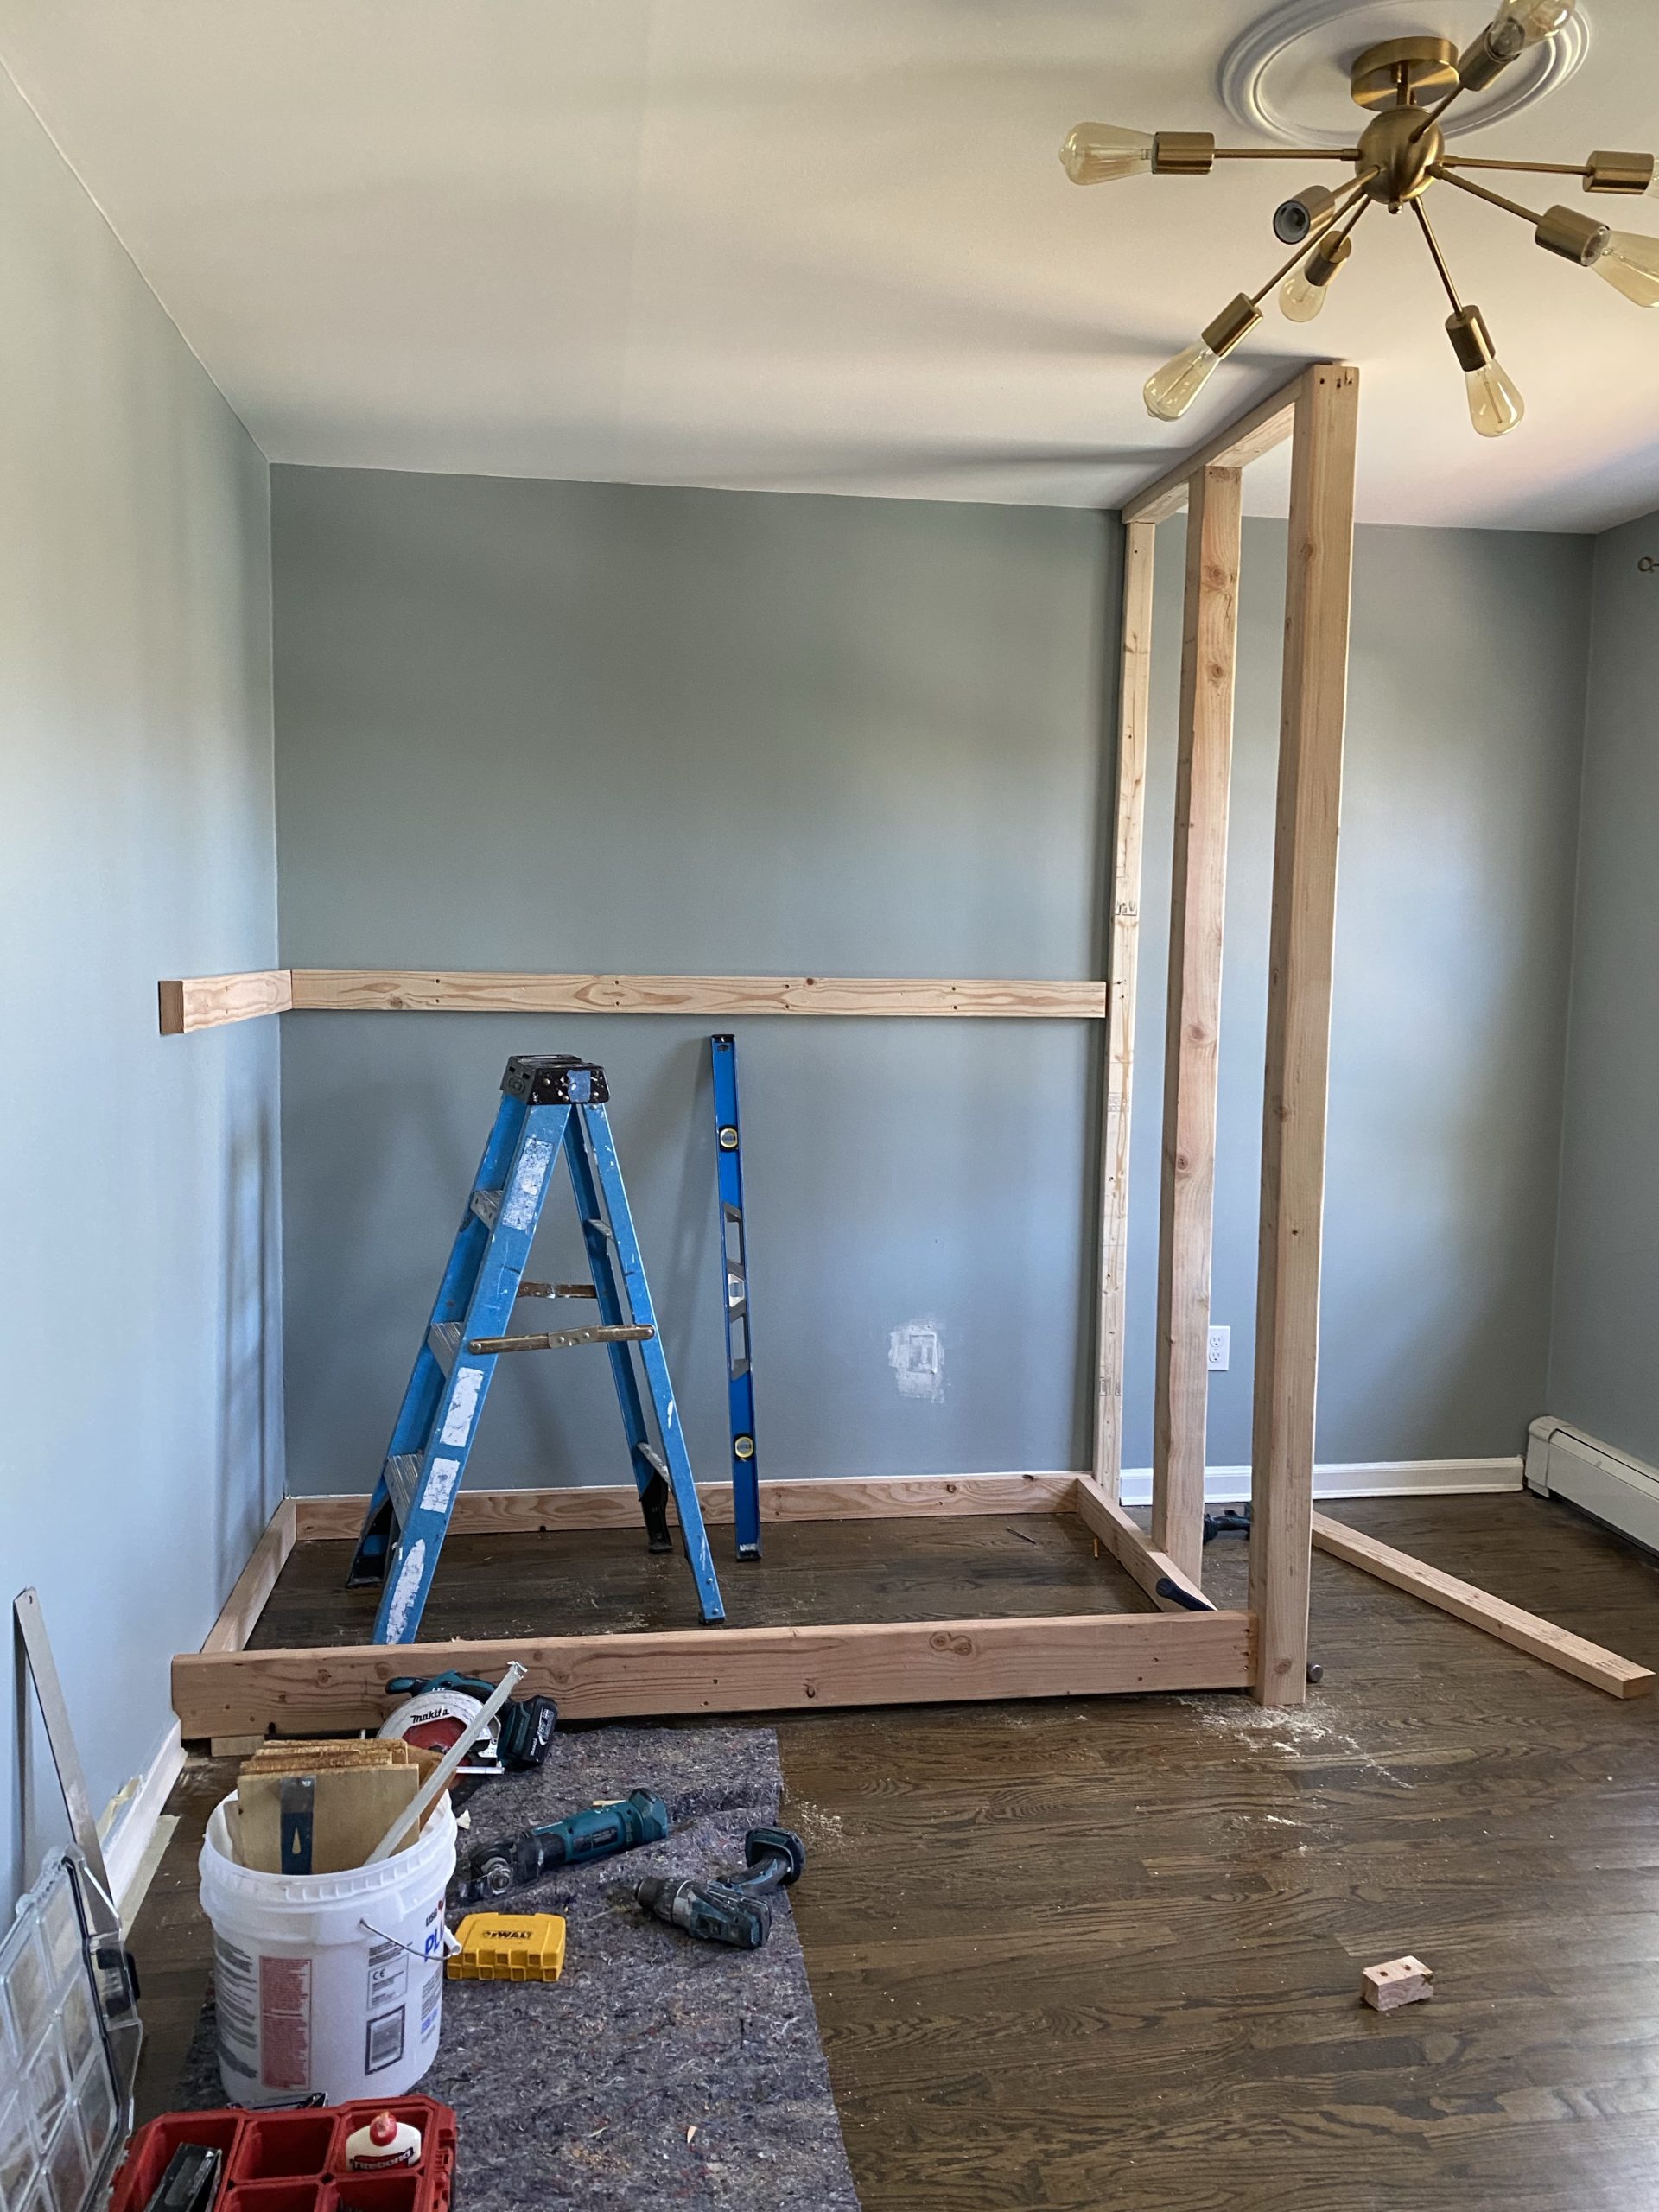
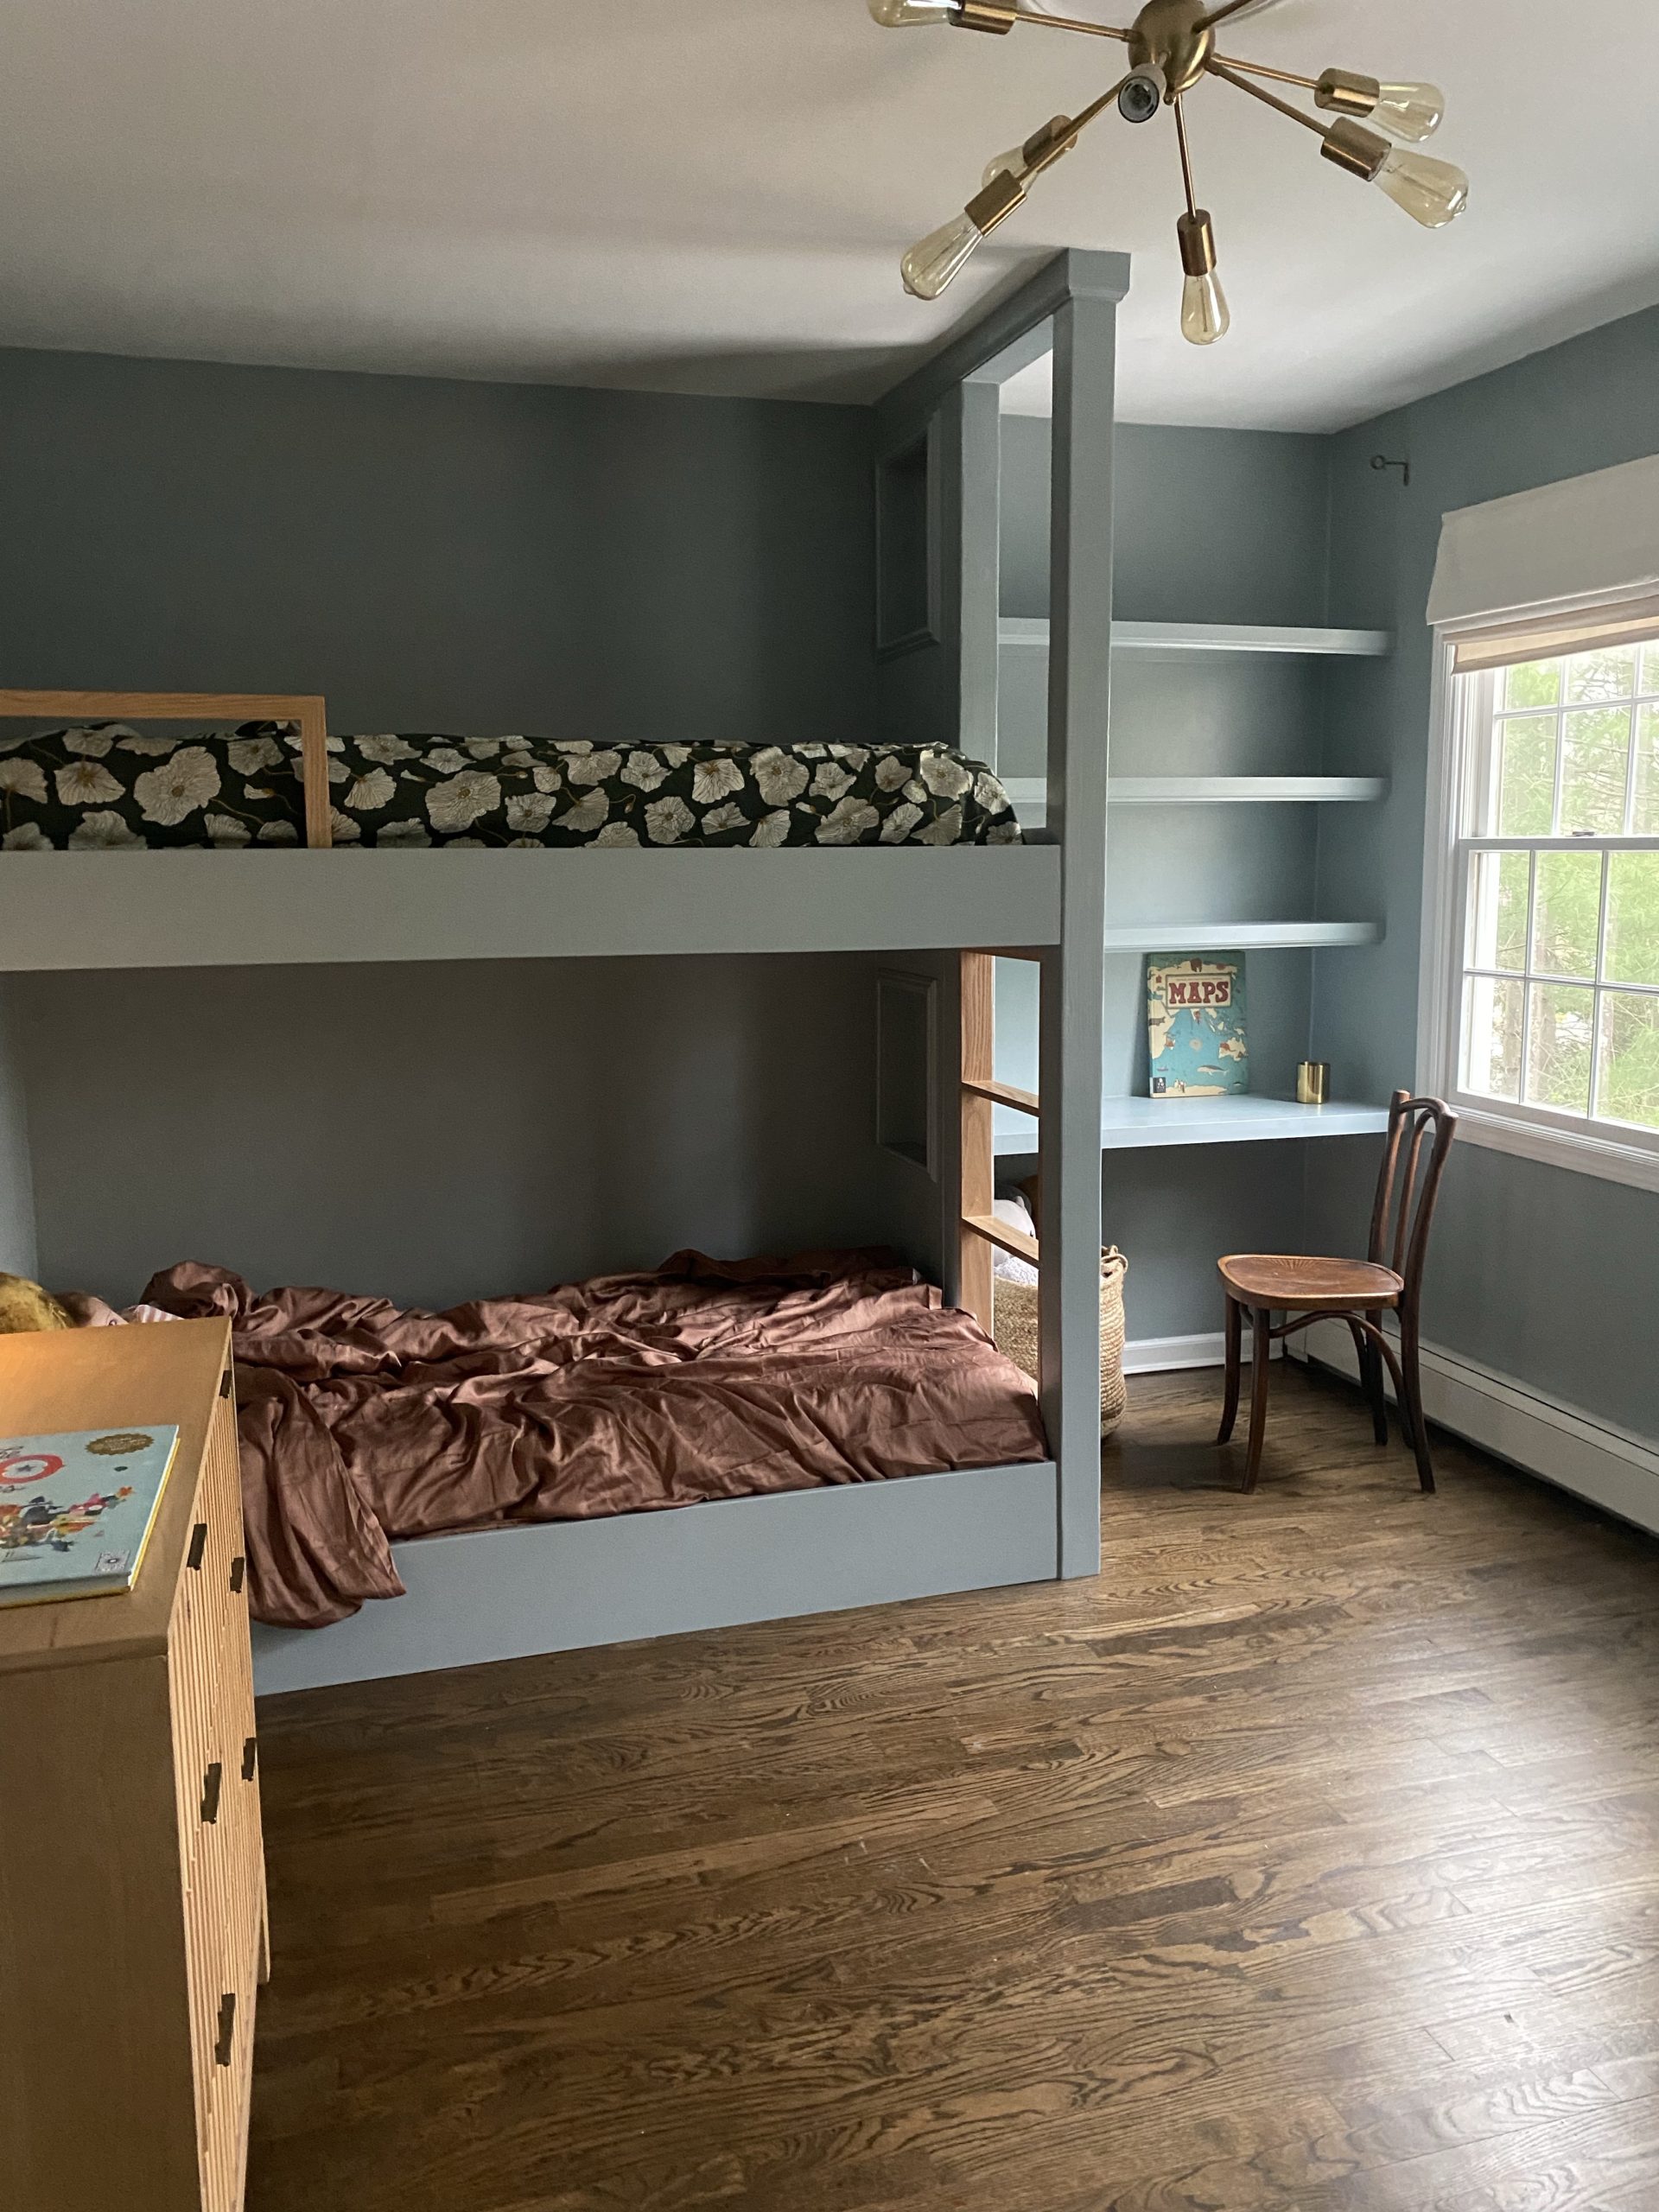
One of the big questions I get is why we chose to do custom built-ins as opposed to a prefabricated bunk bed. The answer is… that all of the pre-made bunk beds I liked were around $2500 or more, with a 8-12 week wait time and were only a bed. We really wanted a desk space for the kids to share for homework, drawing, crafting, etc. When the quote came in around $3500 for exactly what we wanted it was really a no-brainer.
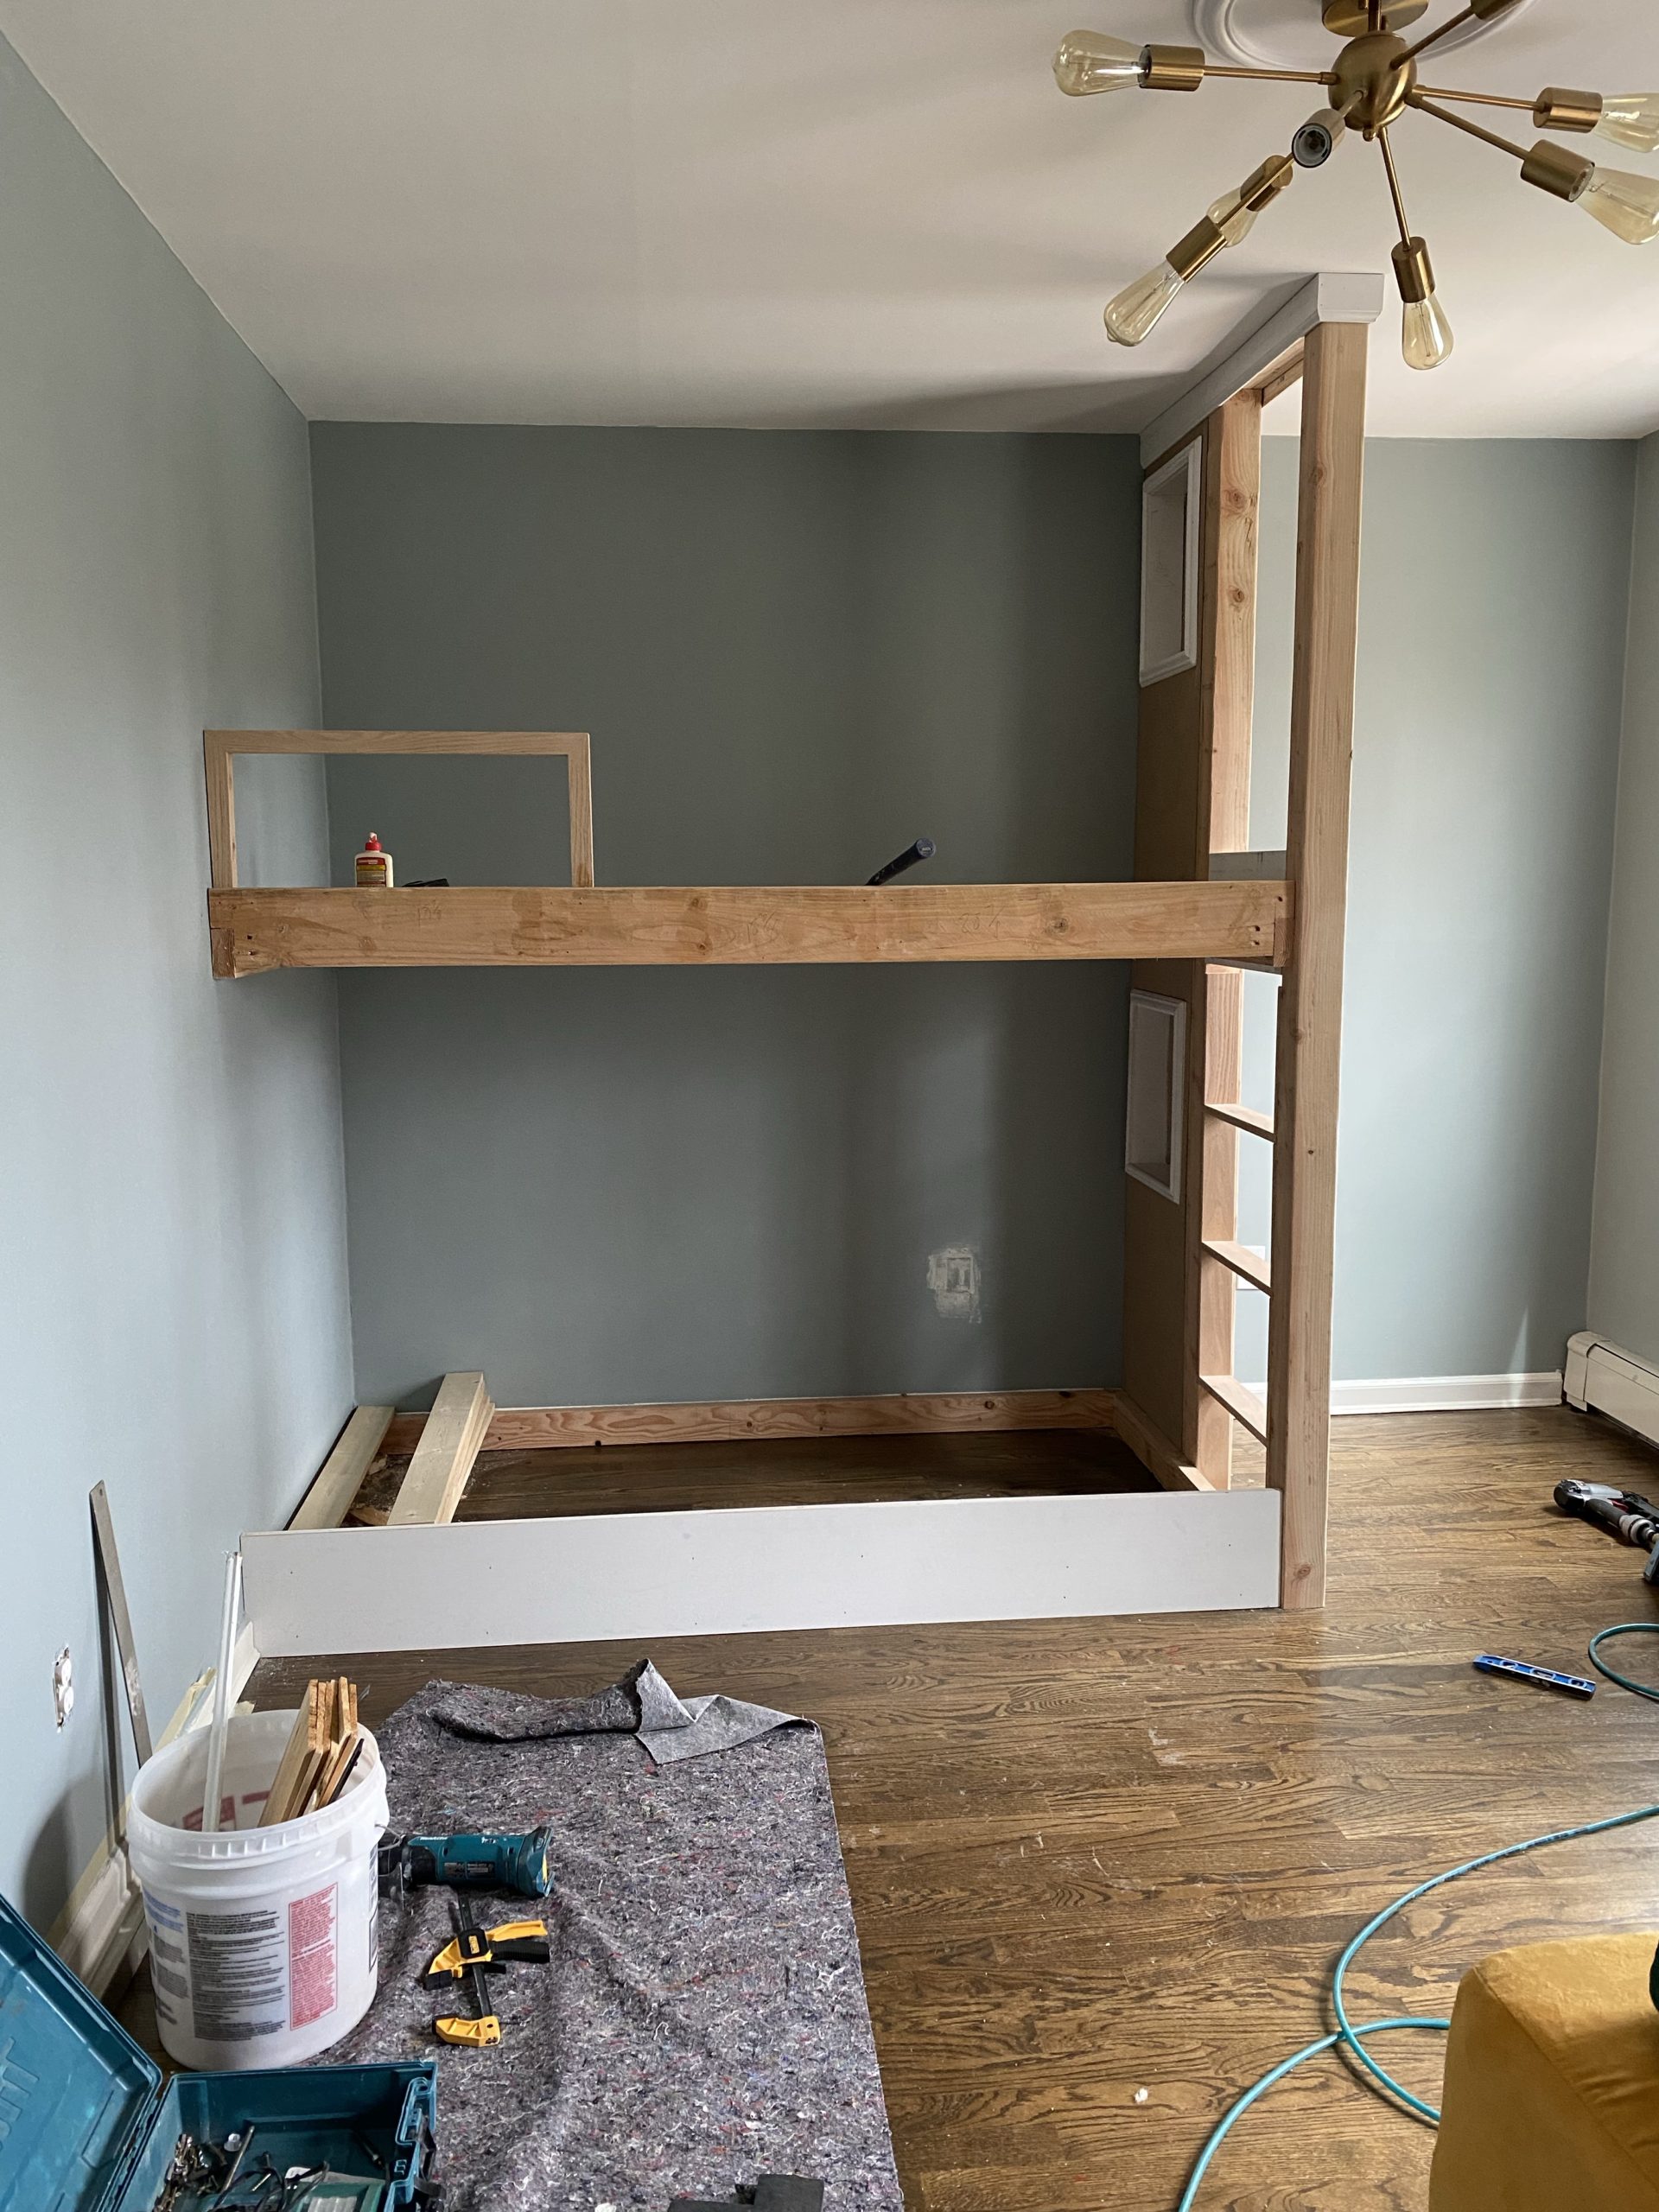
Yes, it’s a lot of money to invest into a kid’s space that they will eventually outgrow, but we know this room will serve a purpose for years to come. Currently our two oldest are sharing the bunk space. Charlotte (7) and Kellan (5) have the same schedule — same bedtime routine, same wake up time, they go to the same school. We were always spending the majority of our time in one of their rooms, so it just made the most sense to put them together. Plus, they wanted to share! It has alleviated the middle of the night visits because they have each other to share with, and they love it.
My kids were never the type to hang out in their rooms for fun, and since having the bunk beds they are up there all the time playing (and thankfully not catapulting themselves off the top bunk just yet).
When the time comes they don’t want to share anymore, we will move one of them back to our now spare bedroom and the bunk can be utilized for sleepovers or friends visiting. The design of the bed would also make it really easy to turn the bottom bed into an area for seating down the road. Thinking something like a Nugget couch tucked under there for lounging!
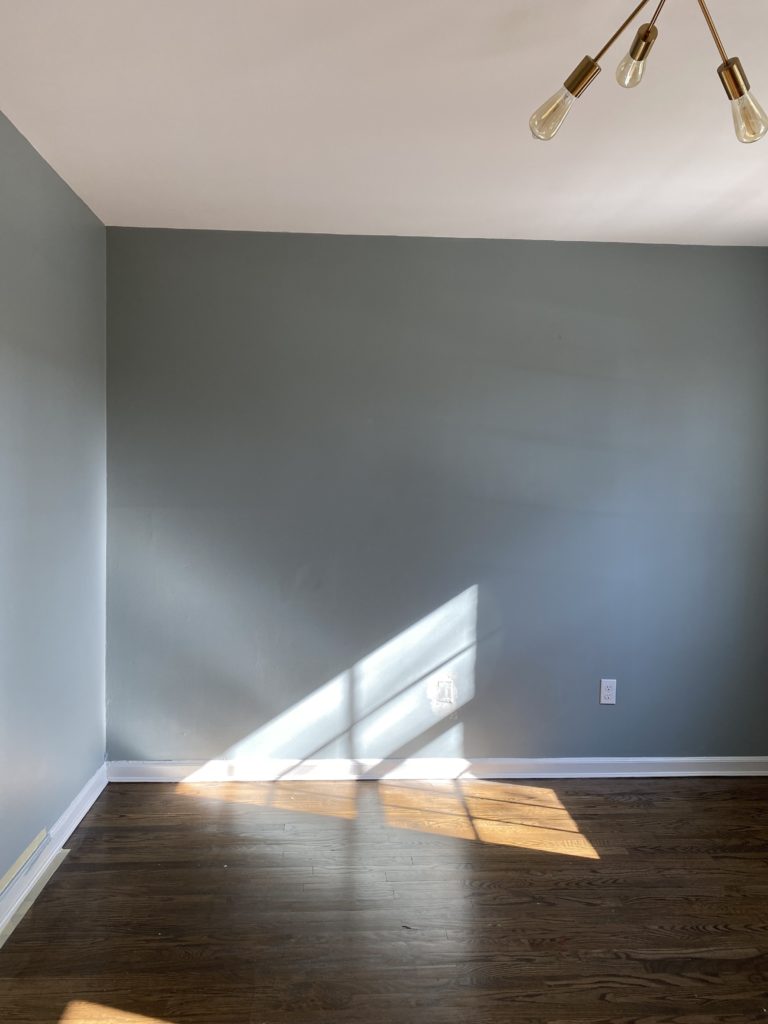
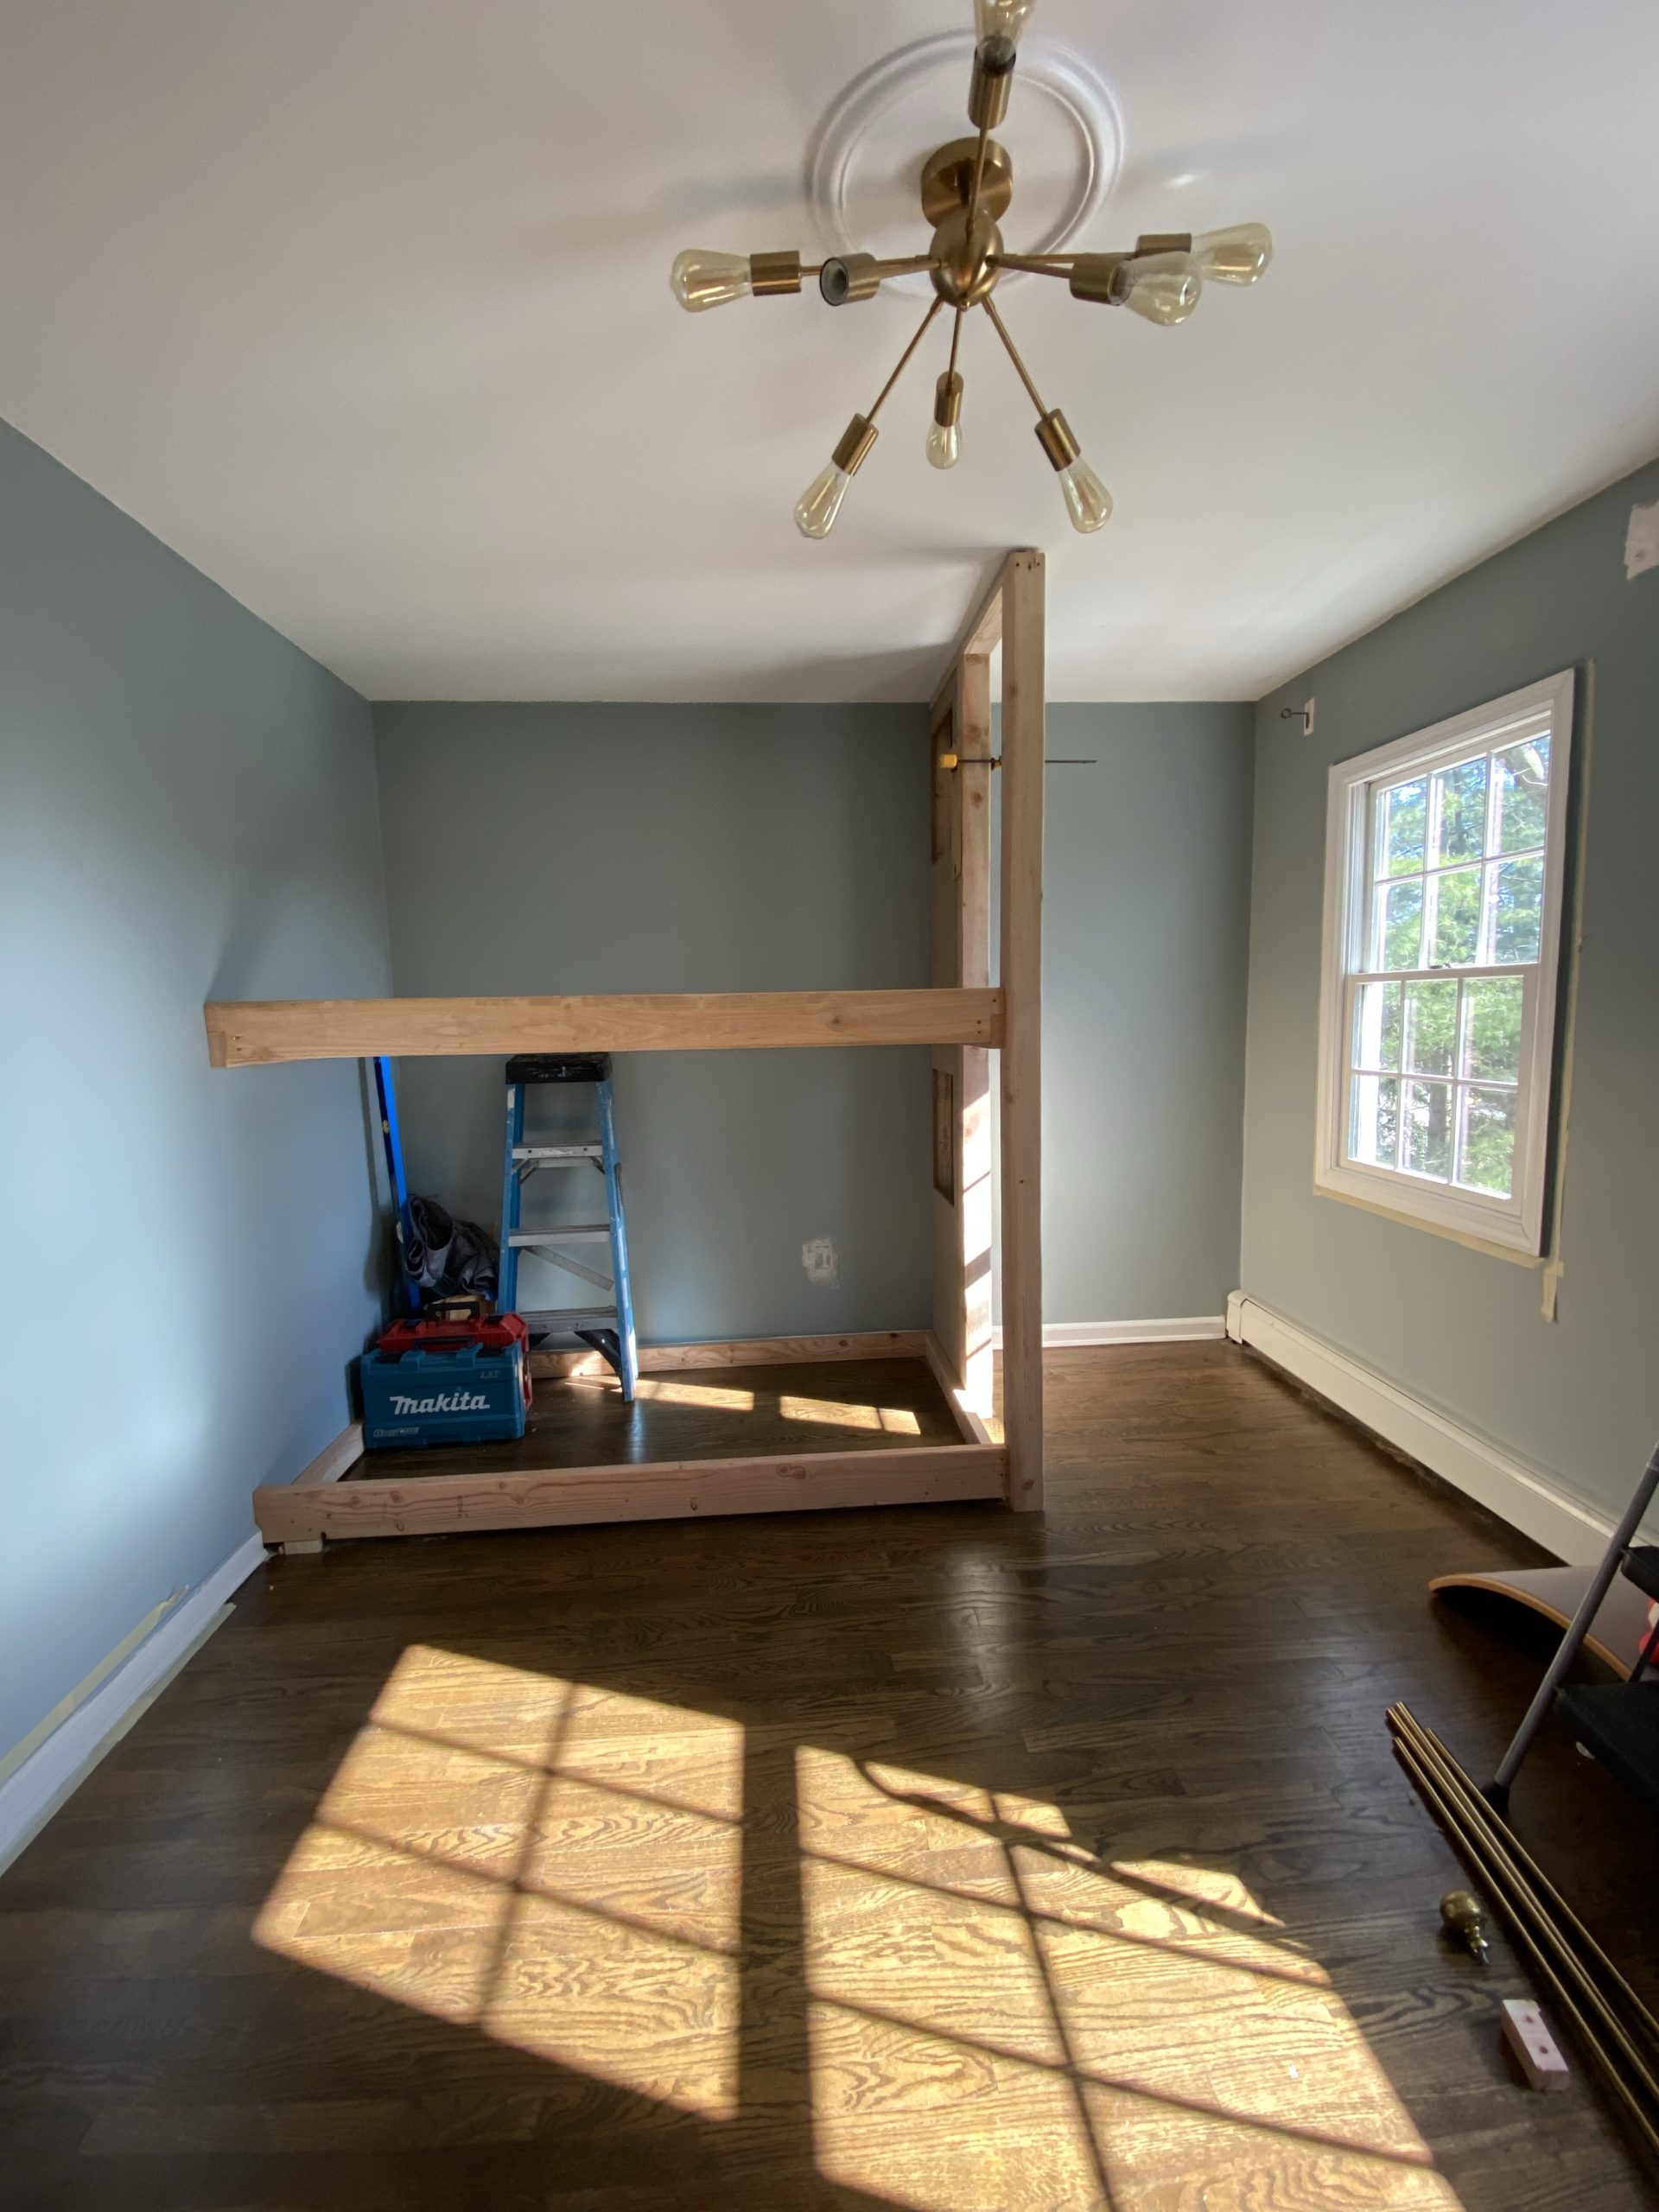
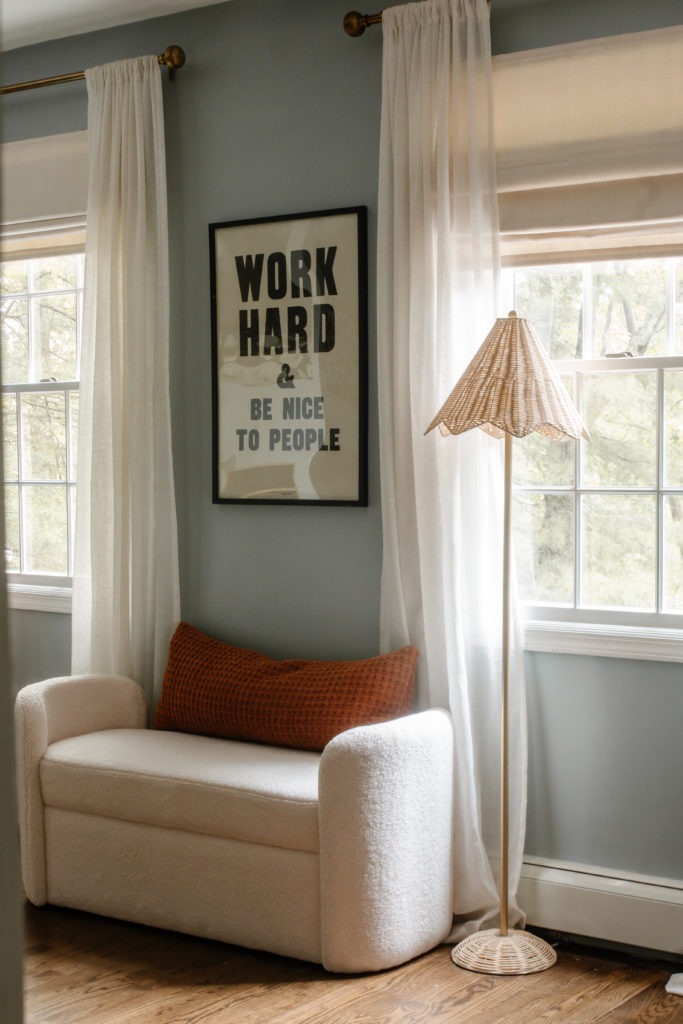
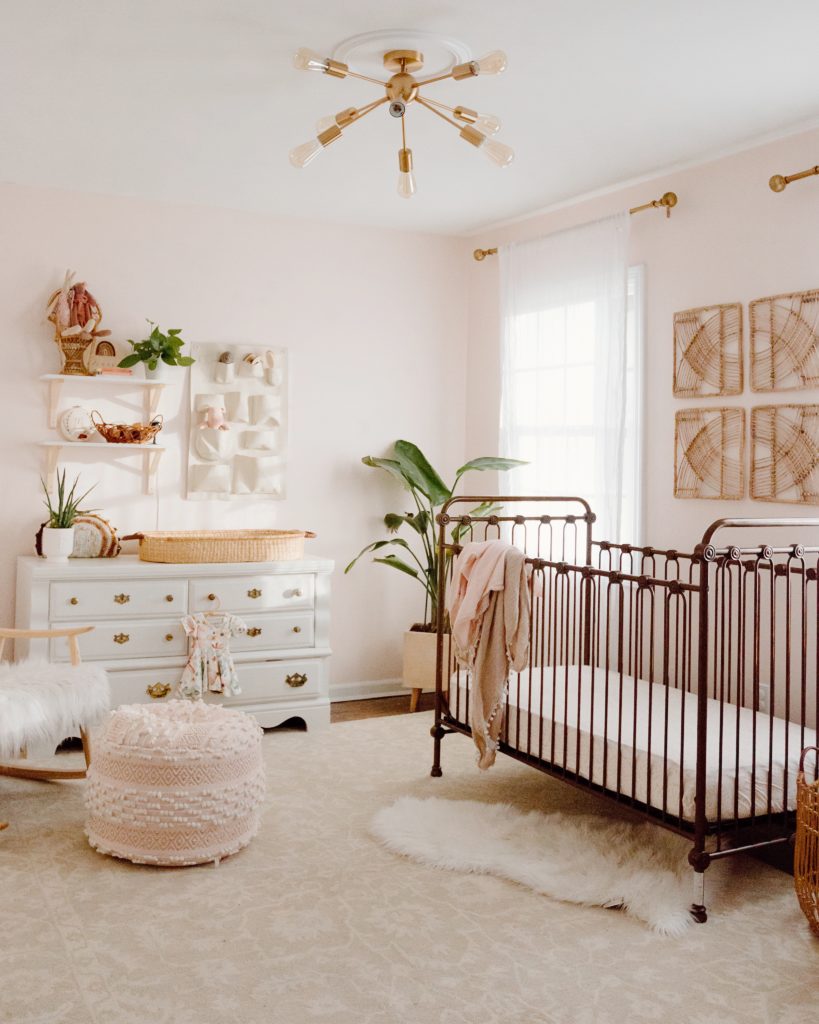
This room once served as my work-from-home office, then a nursery for Maeve and now it’s like it was always meant to be this space. It’s open and airy, has touches that tie it into the house but still feels like a fun and cozy kid’s room.
Budget Breakdown:
- Custom Built-in Bunk & Desk: $3,500 (labor & materials)
- Paint: $400 (DIY)
- Bedding: $500
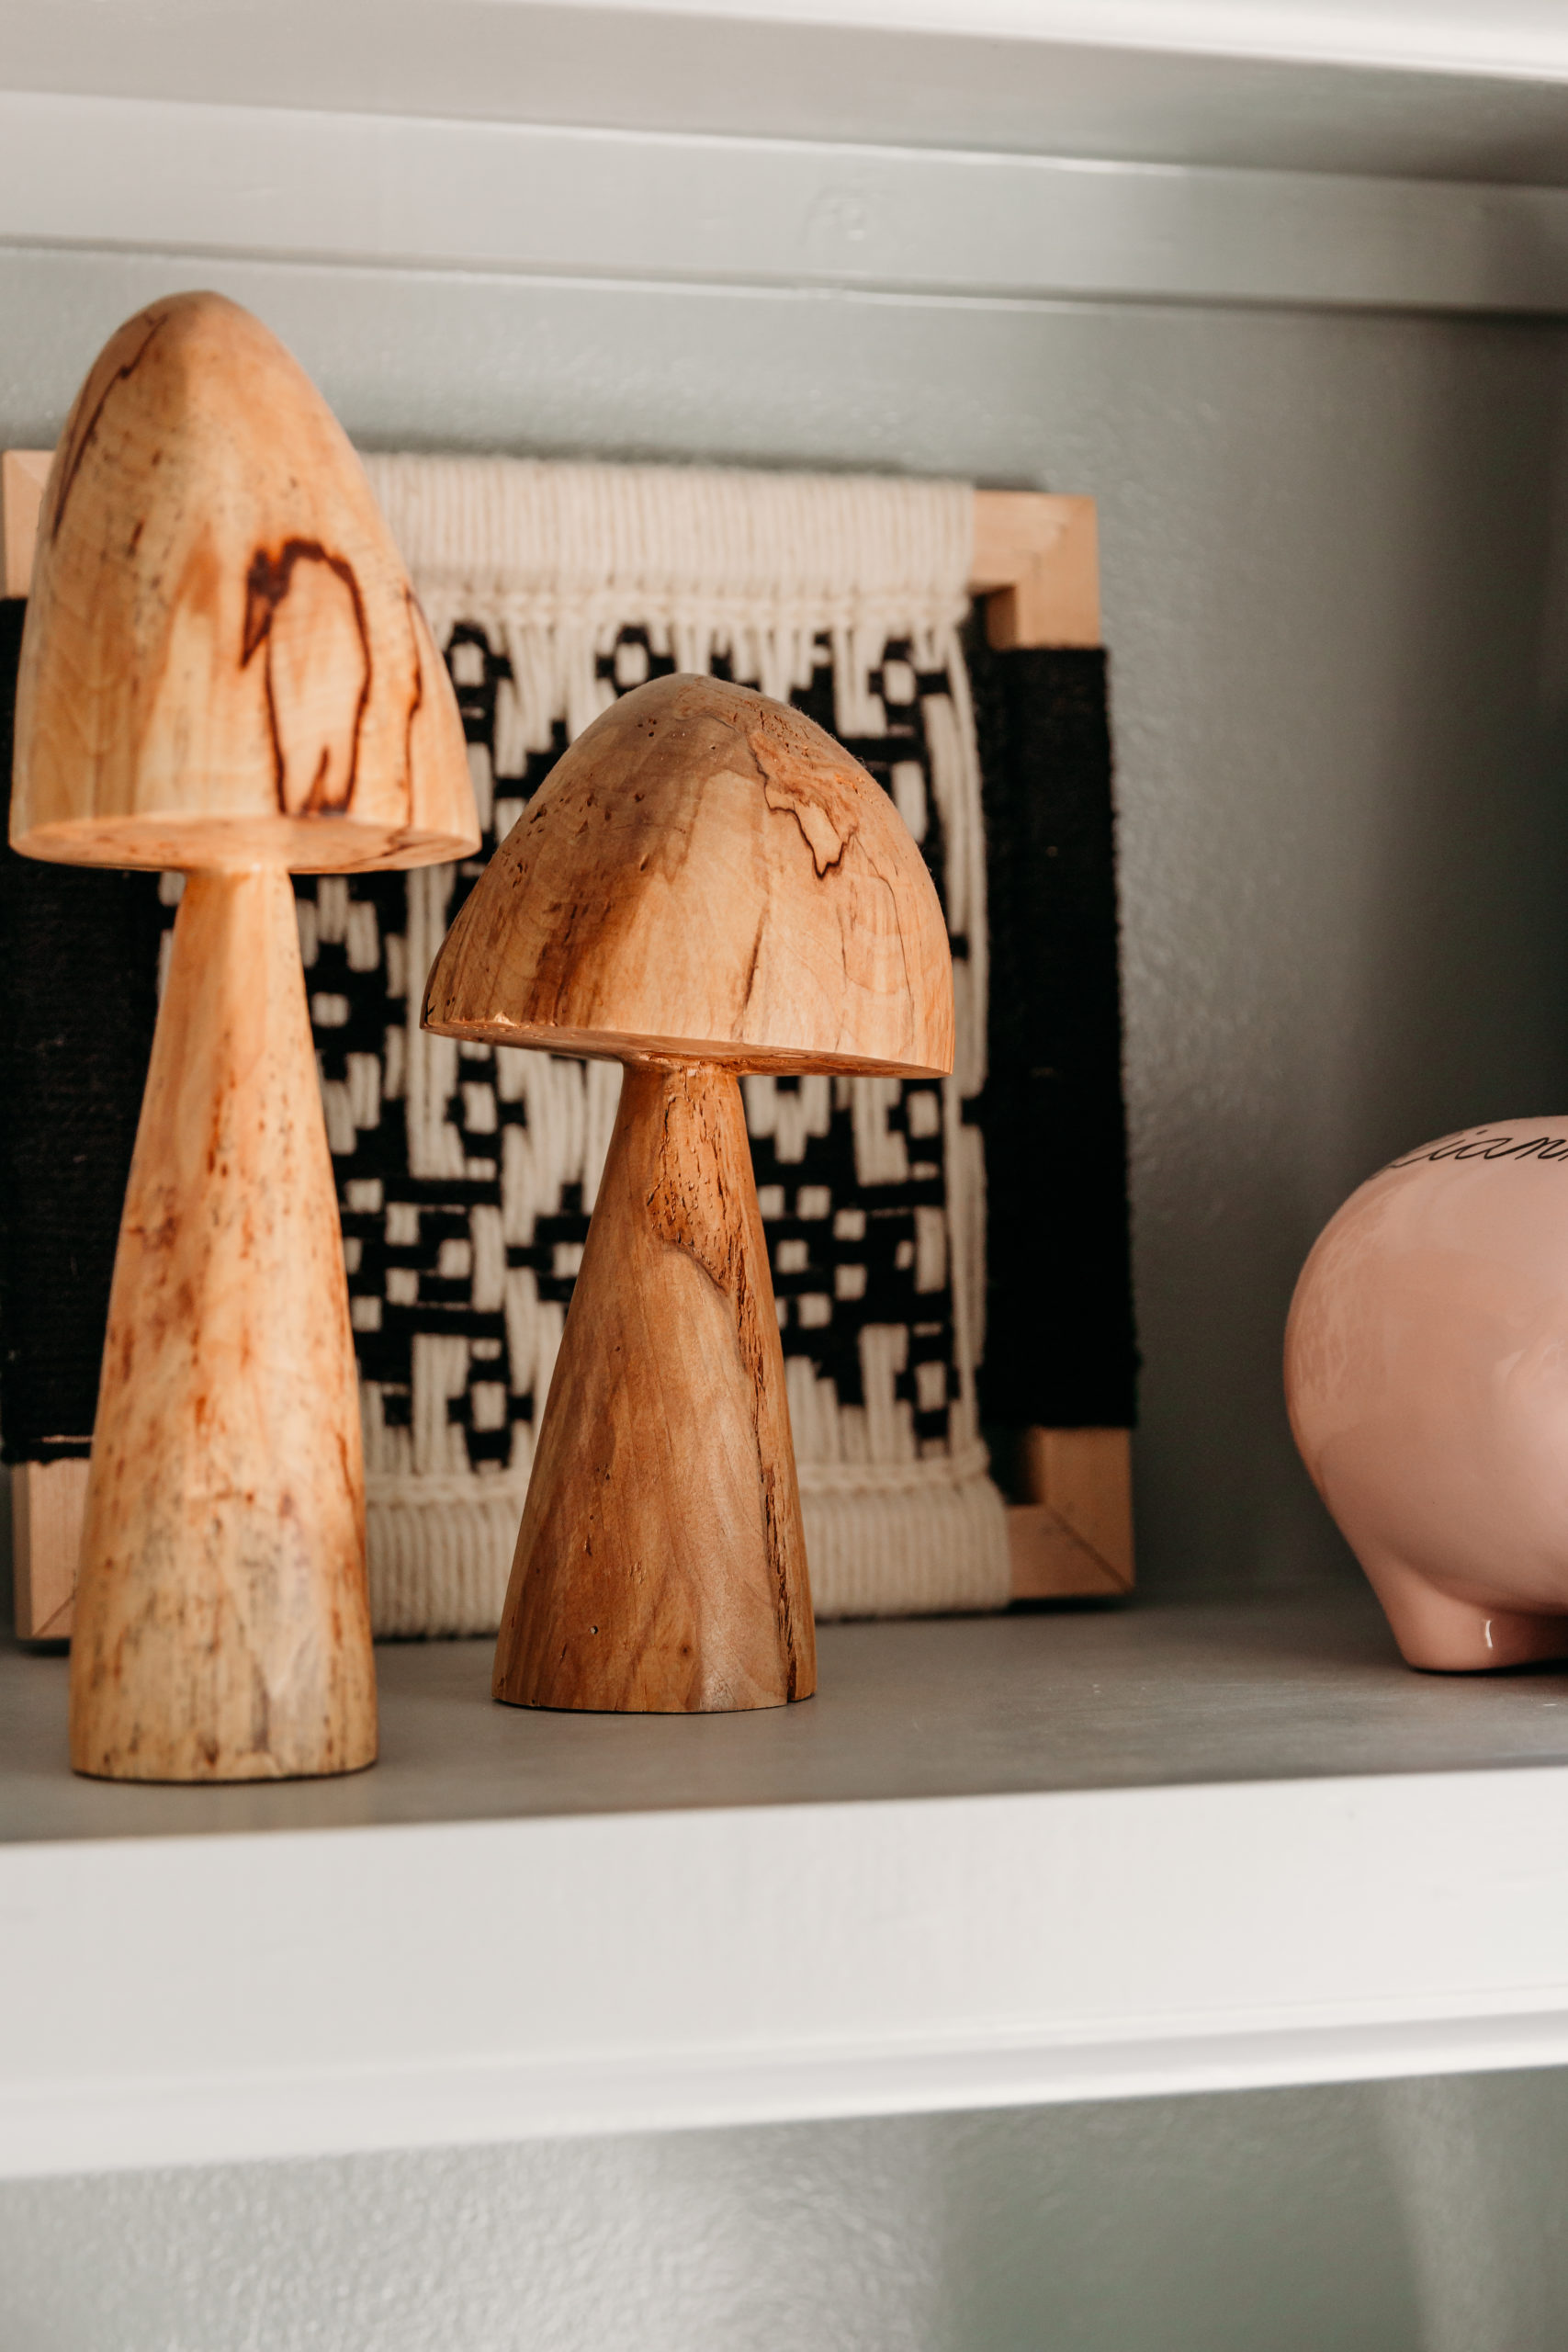
- Decor: $600
Total cost for bunk room renovation: $5,000

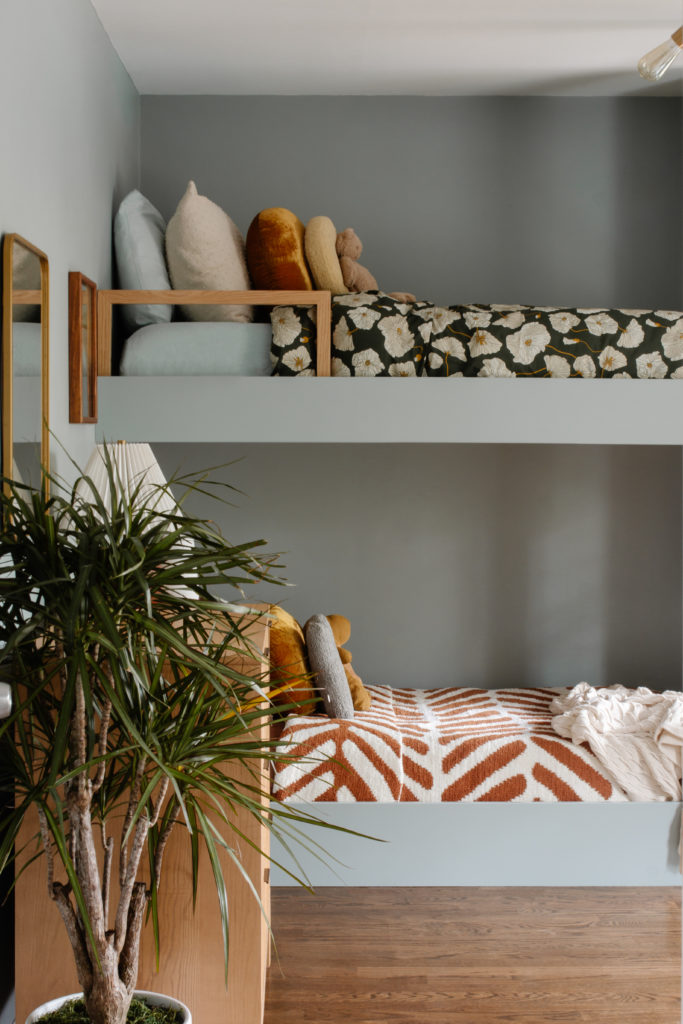
Bottom Bunk Bedding: Duvet • Sheets • Throw Pillow • Throw Blanket (use CAREYUSHOME15)
My next update for this room is to make the desk space more functional for back to school as well as organizing their closet a little bit better. I’m hoping to streamline the before and after school routines as much as possible this year since I now have two in school full time. Check back for more details on that as I get to it!
Any questions, let me know. Hop on over to Instagram, my messages are always open!


Comments +