Function is always key when you have a family, but it isn’t something that comes easily or right away. We have been in our home for four years now and I am still tweaking things all over to give it the best functionality. Thankfully, our home does have a double closet in the entry way. It was equipped with a single rod and shelf from the previous owners.
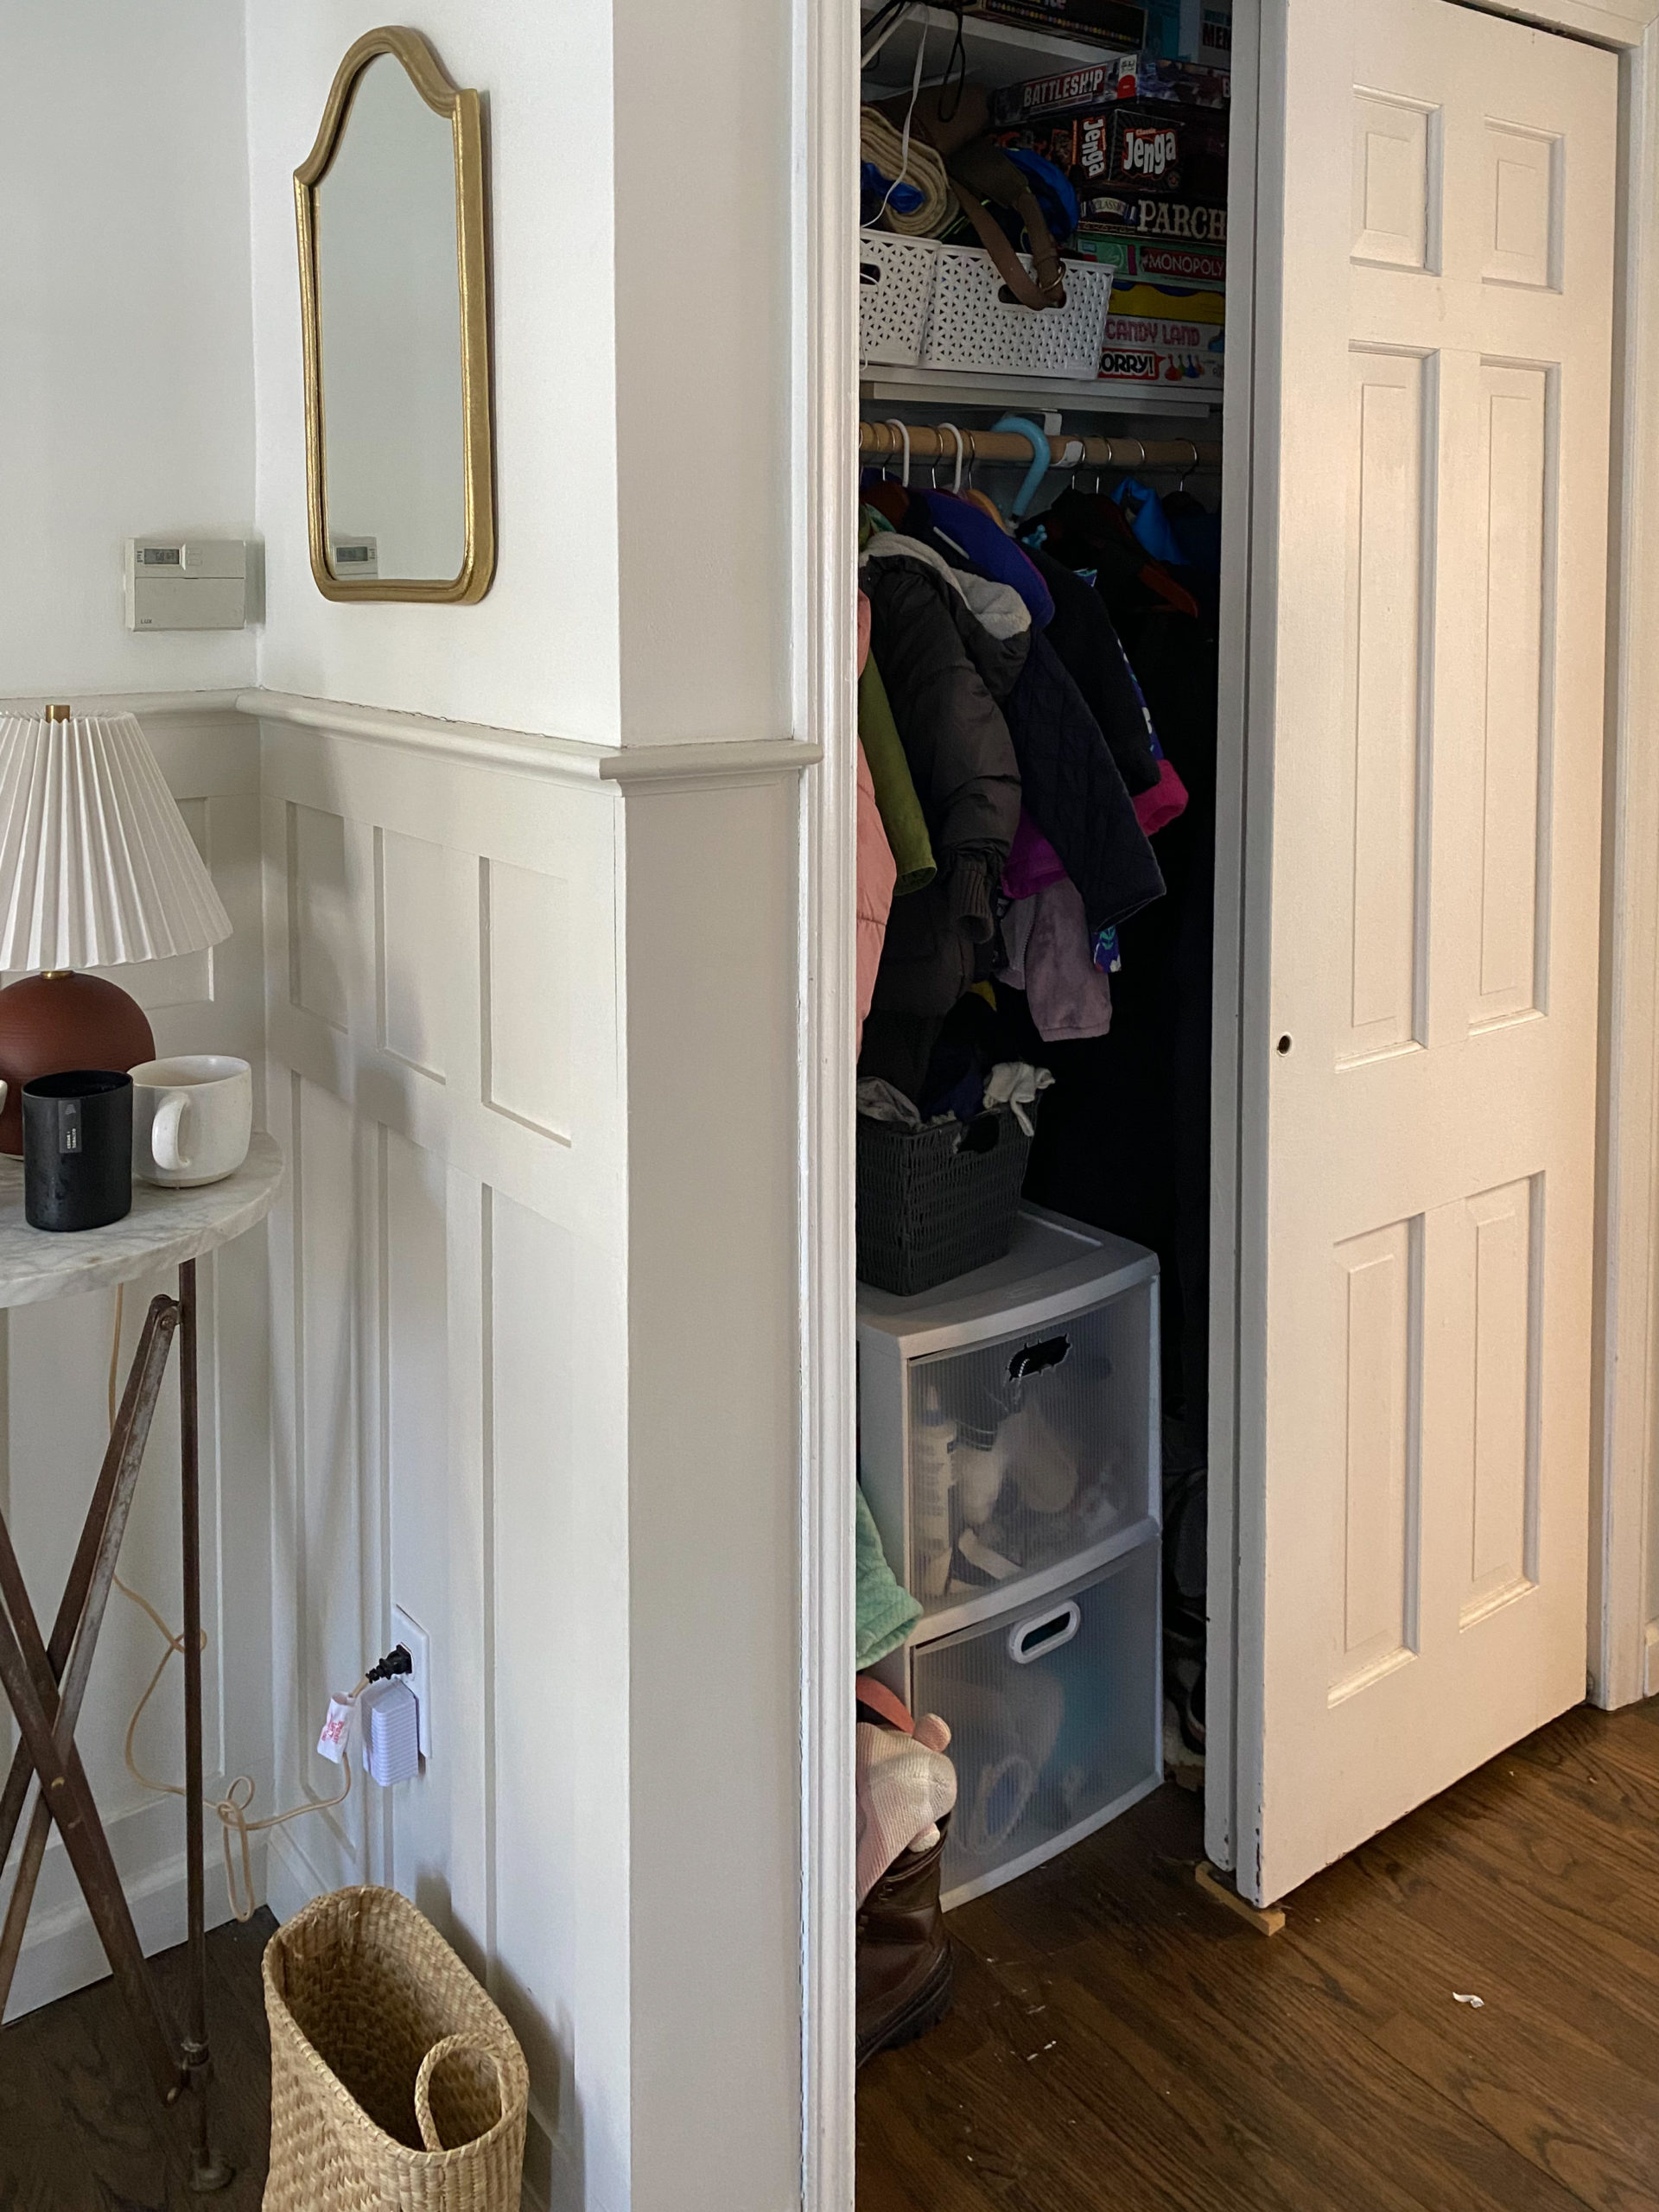
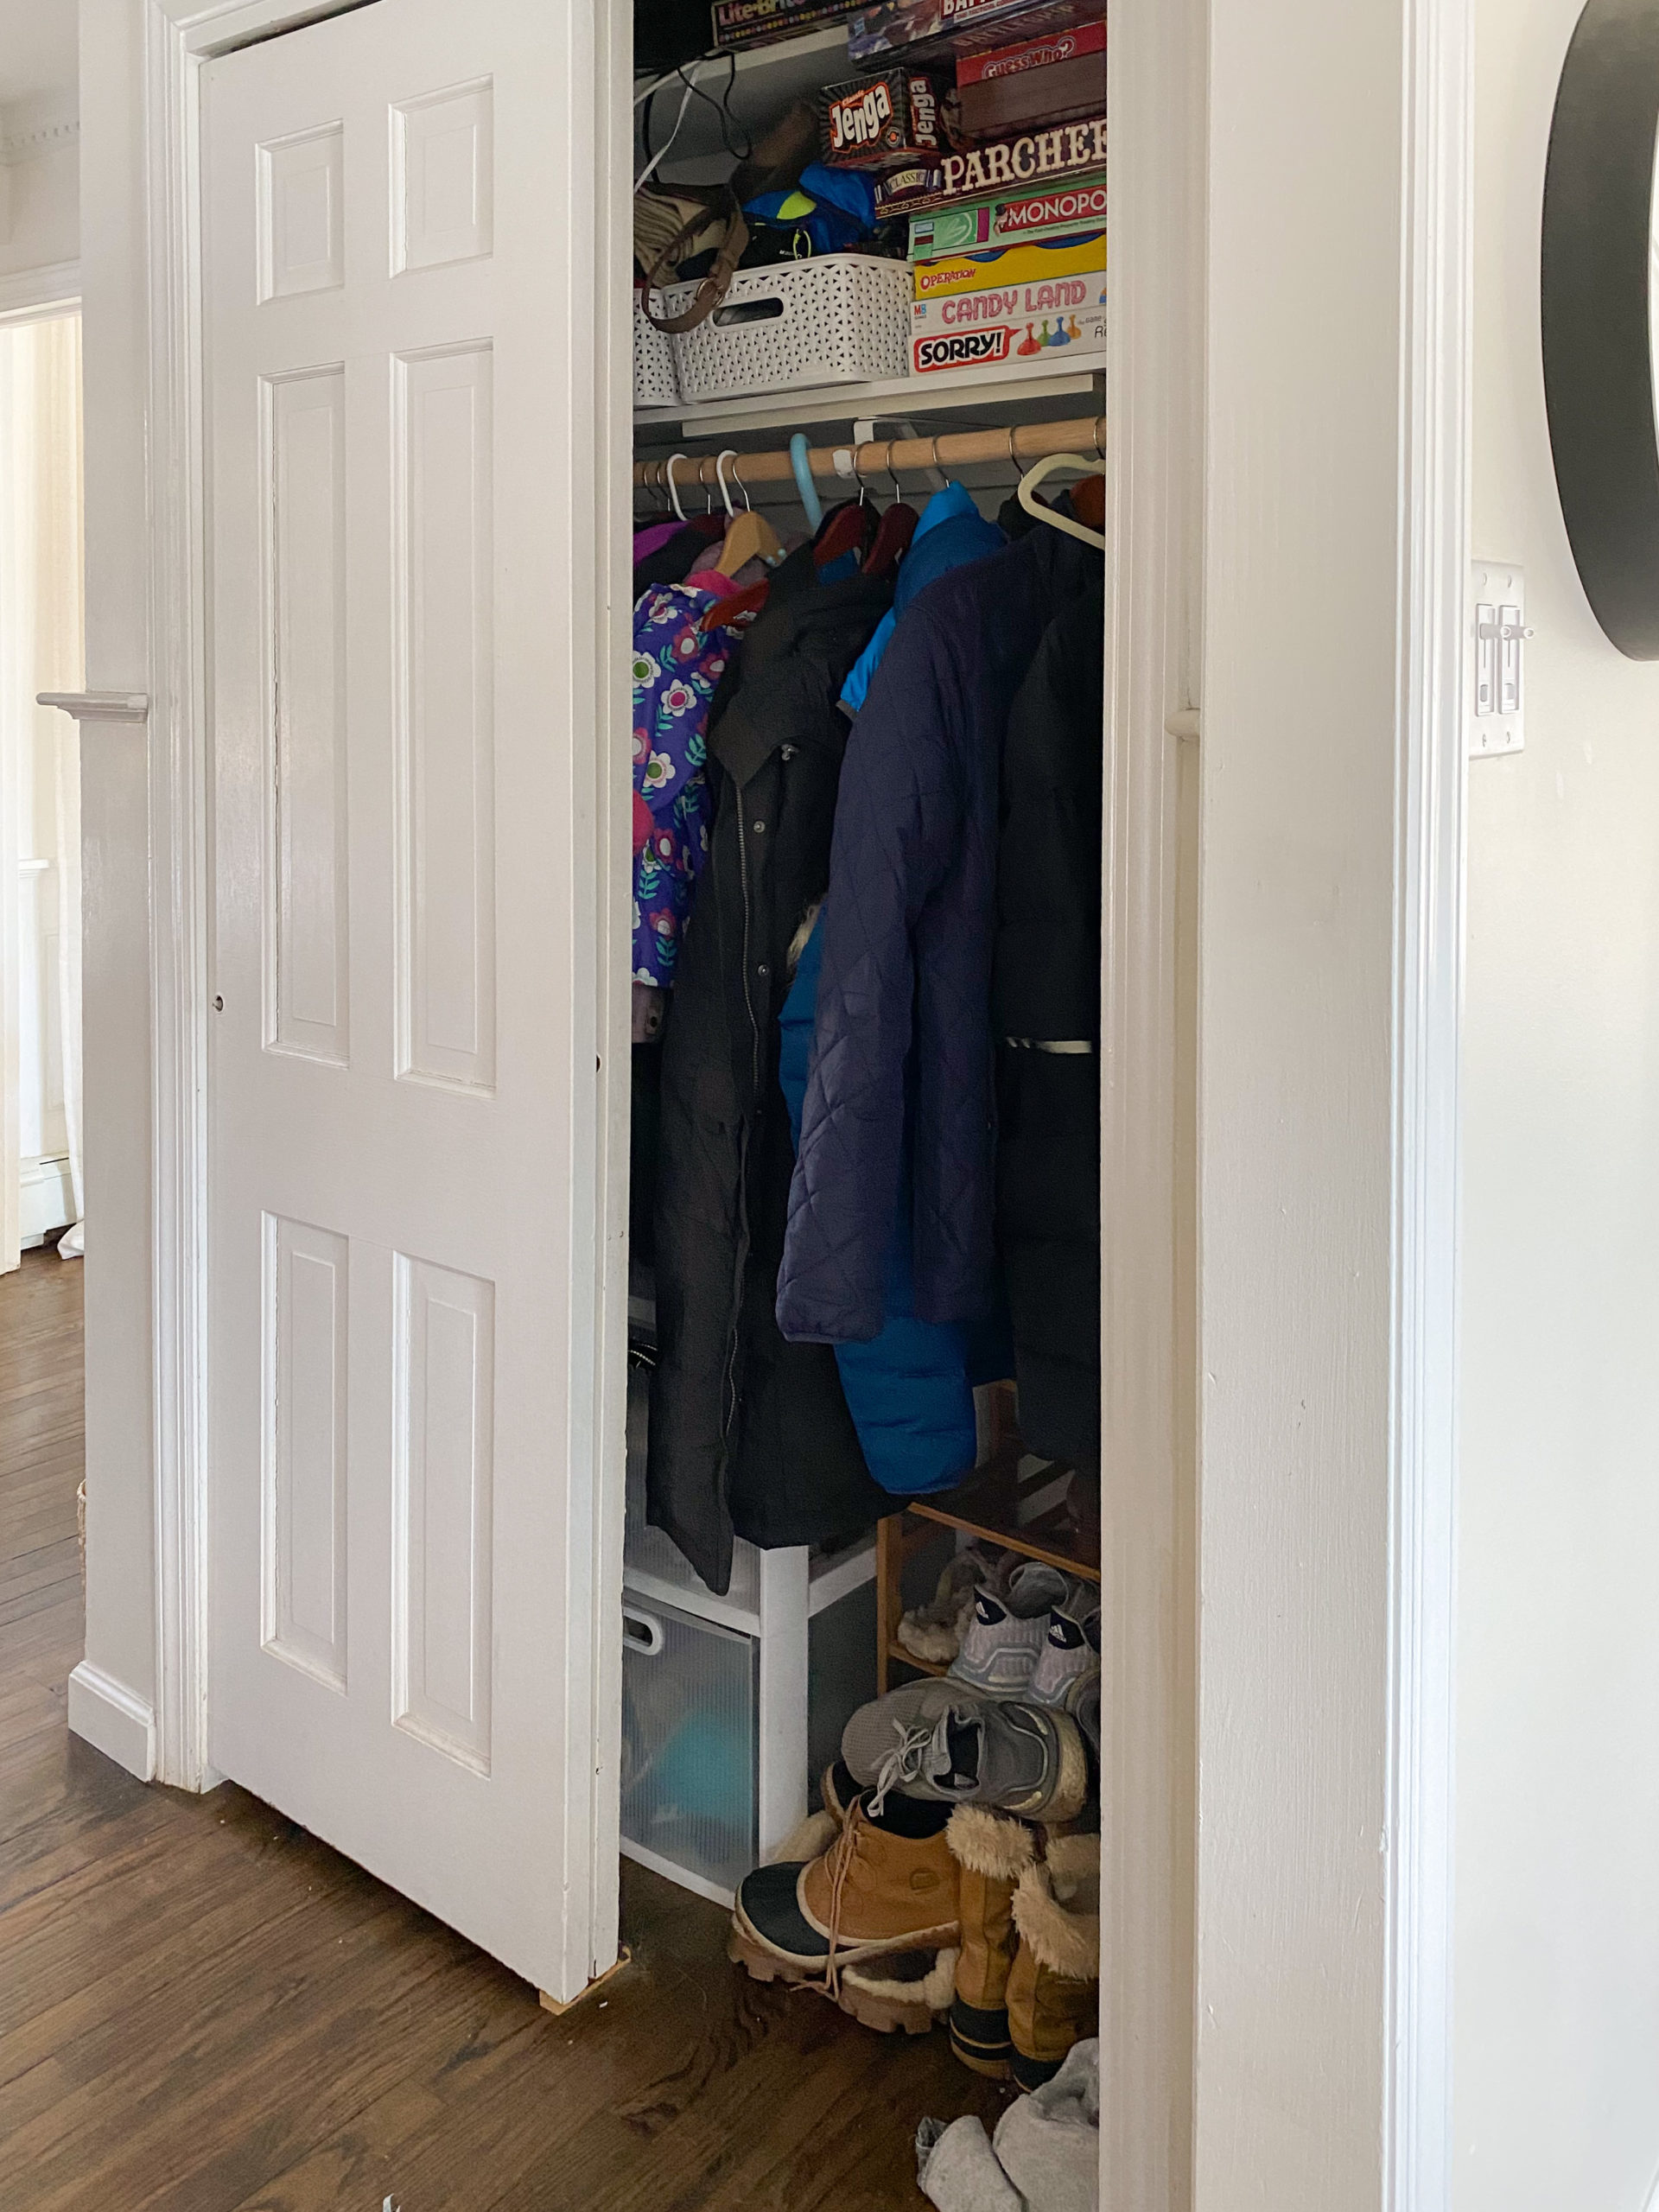
I tried bamboo shoe racks, drawer units, baskets — all the things to make it work but if winter teaches us anything, it’s that the coats, boots, leashes, umbrellas, etc, for five people and two dogs will not work in one closet without a system.
We used a company for a closet system in our primary bedroom a few years ago so that was my first instinct to look. I got a few quotes for what I thought was pretty straight forward and they were upwards of $1,000. So then my plan was to head to the hardware store and just build it with materials… but I don’t own a power saw and that was also going to be a bigger investment than I wanted.
I don’t know why I didn’t think of it first, but a someone has to have developed some type of system for a pretty standard-size closet, right? Of course. So I ended up finding this system [linked] that was almost exactly what I had in mind to built. It has slightly fewer shelves than I wanted, but I can always add shelves in later, or use baskets and things to make it work.
So first order of business was to remove everything from the closet, including the wood planks that were installed to support the only shelf that was existing in the closet. Even though they were only nailed in, this was by far the hardest part of the whole closet transformation.
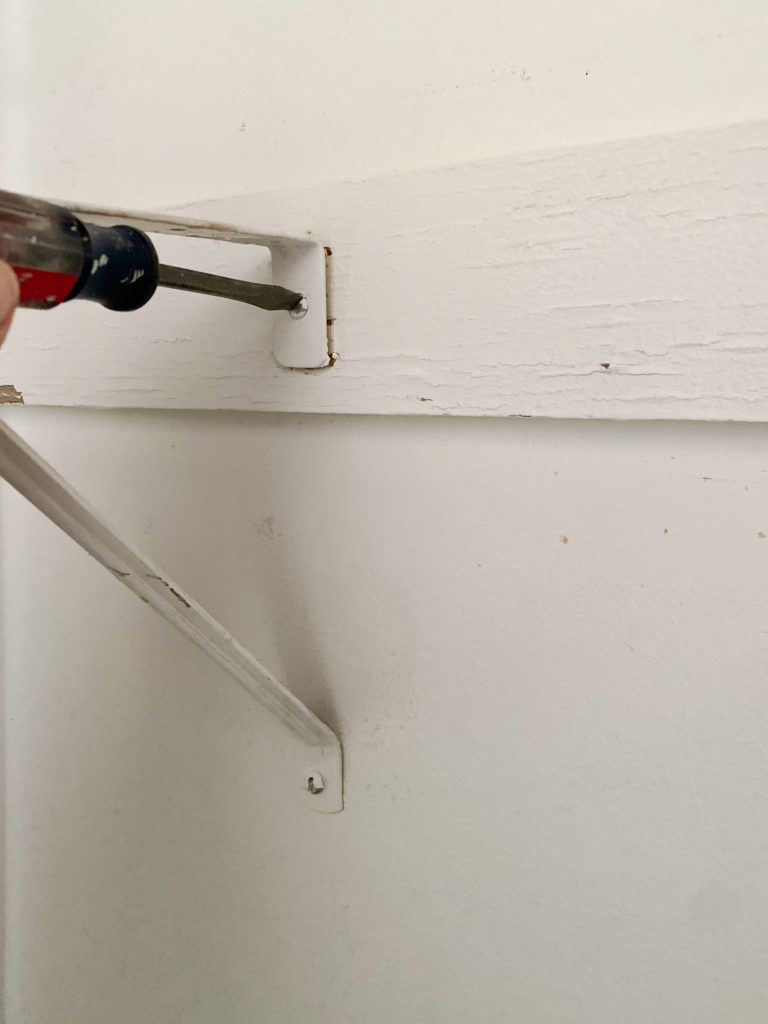
Once the closet was empty, I installed the rails that the shelving unit hangs on – important to find studs here. (I missed a couple the first try because my stud finder has a dead battery). Thankfully I knew that studs are USUALLY 16″ or so apart so I was able to measure from where I knew one was for sure and it was accurate.
After I installed the rails, I assembled half the shelving unit and hung it up. Then I did end up having to cut the hanging rods because they were about 1.5″ too long. It was easily done with a hack saw and everything came together in just a couple of hours.
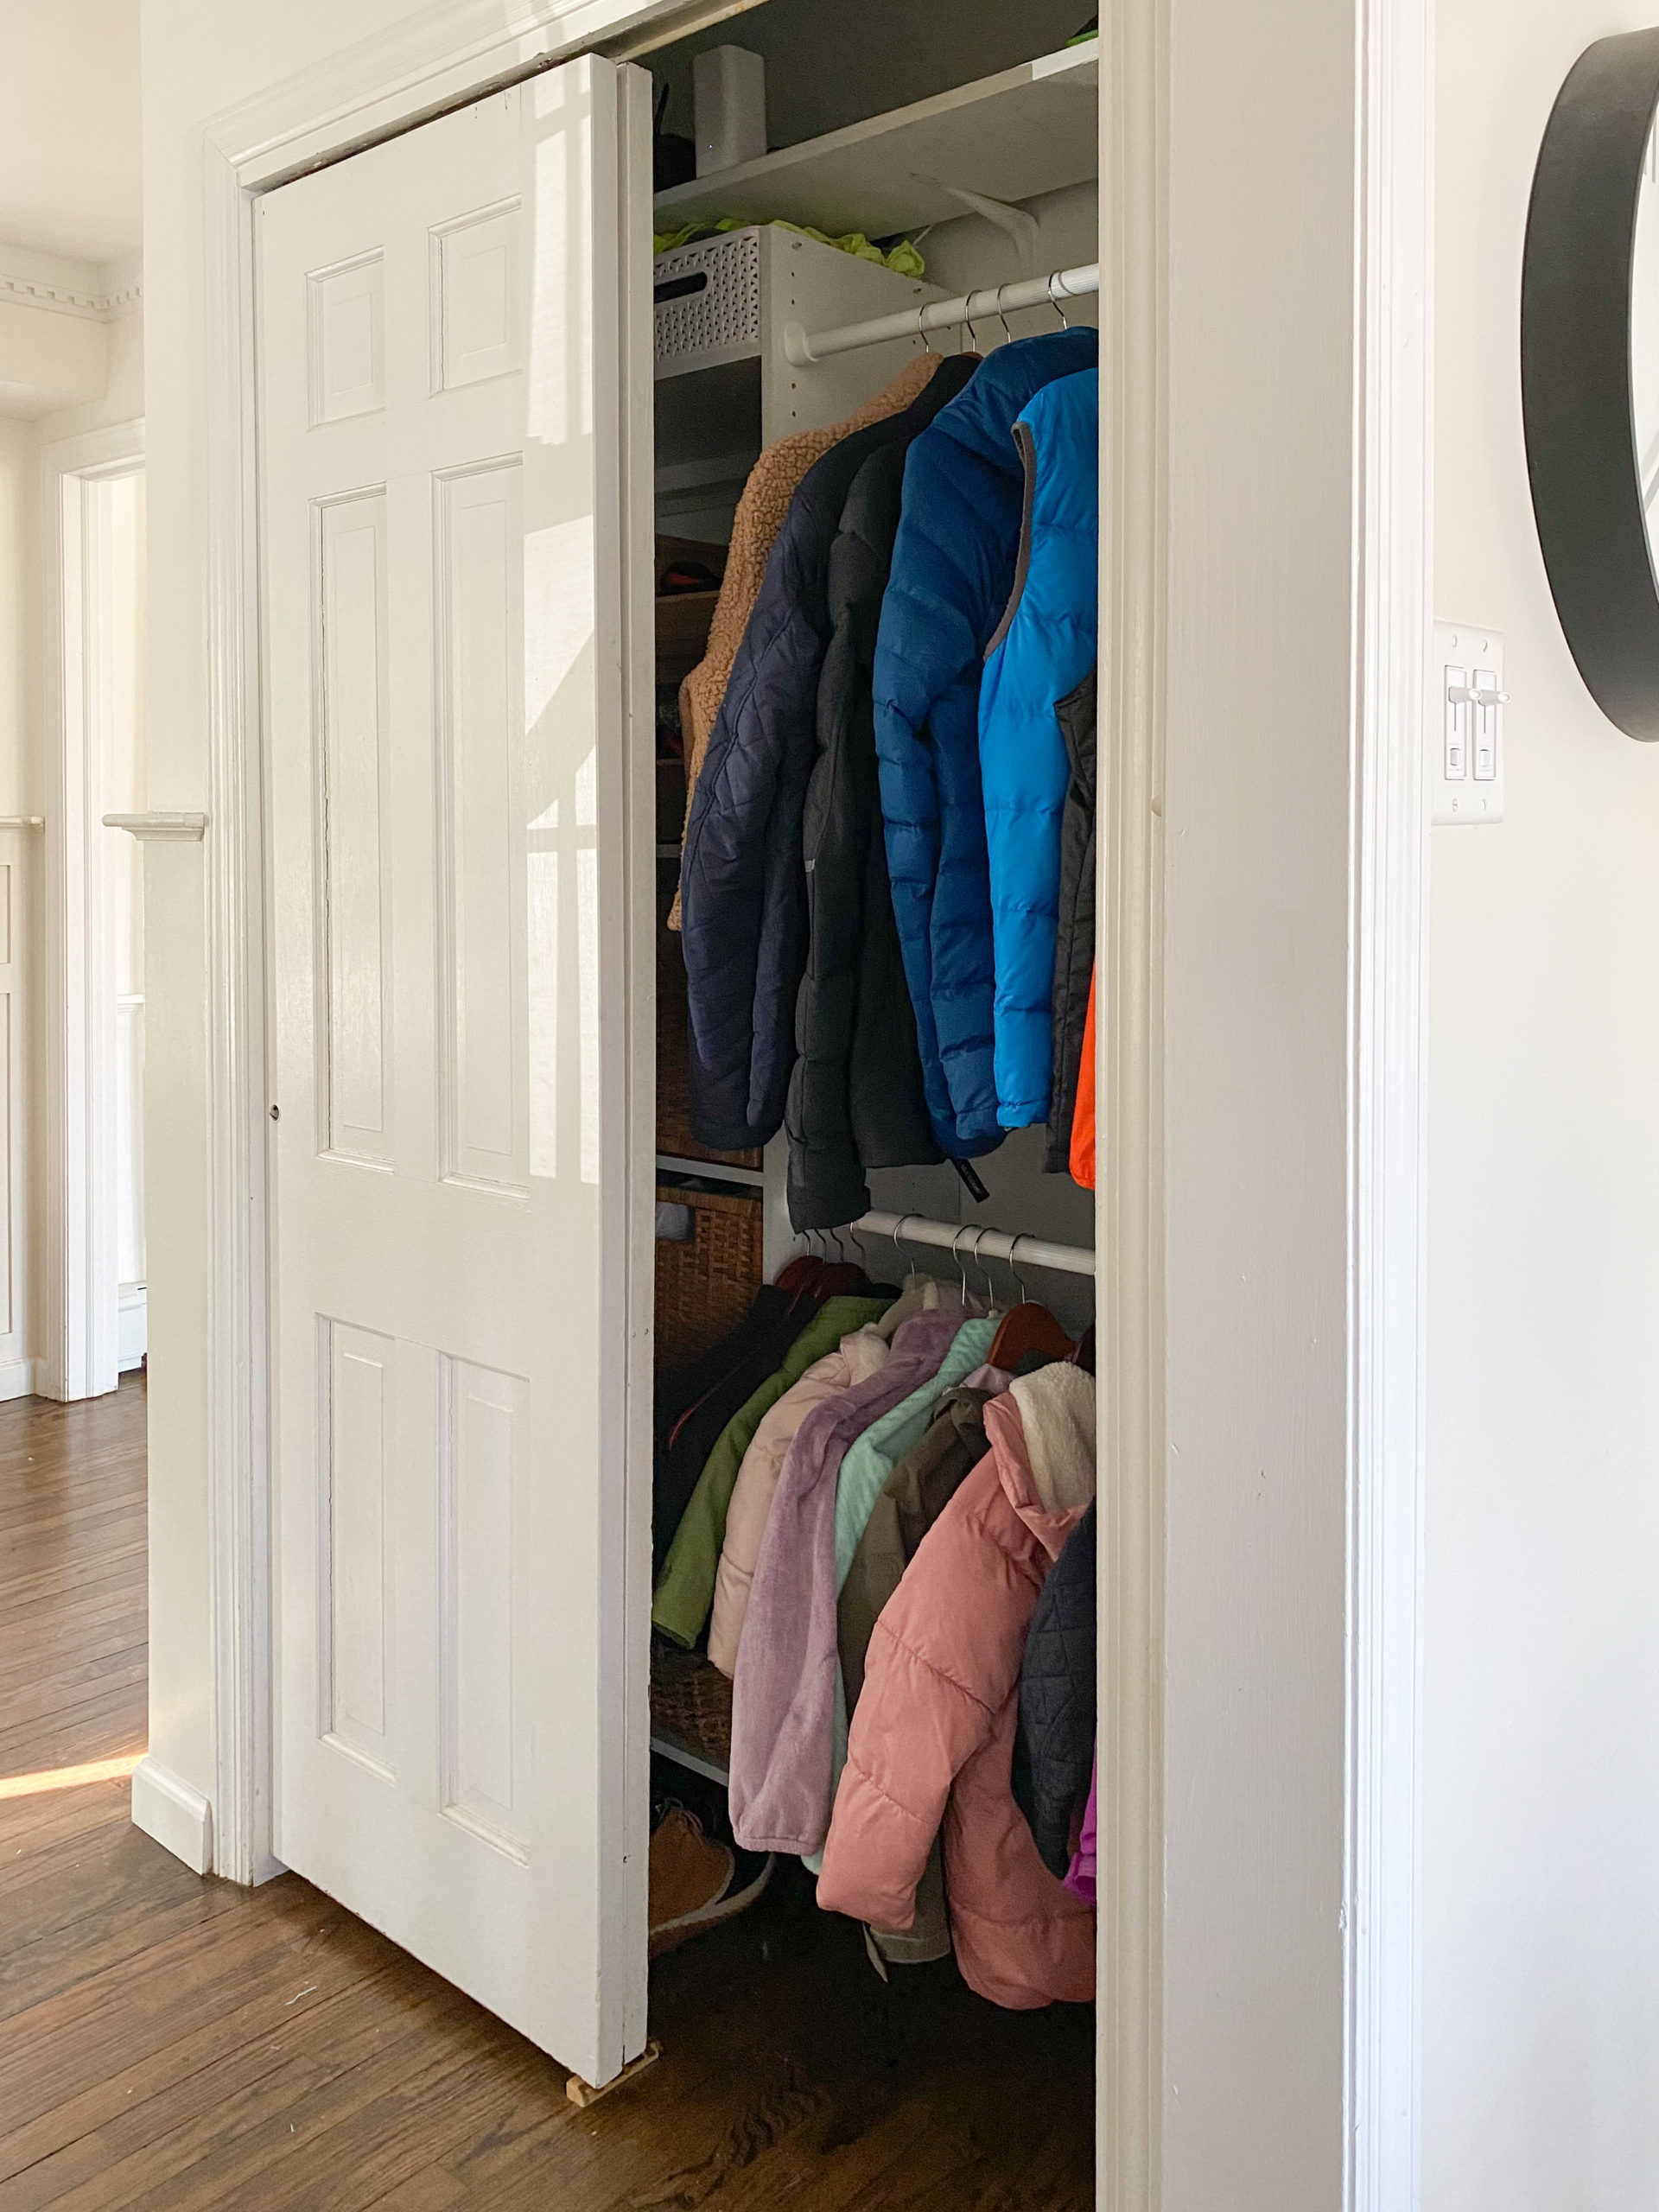
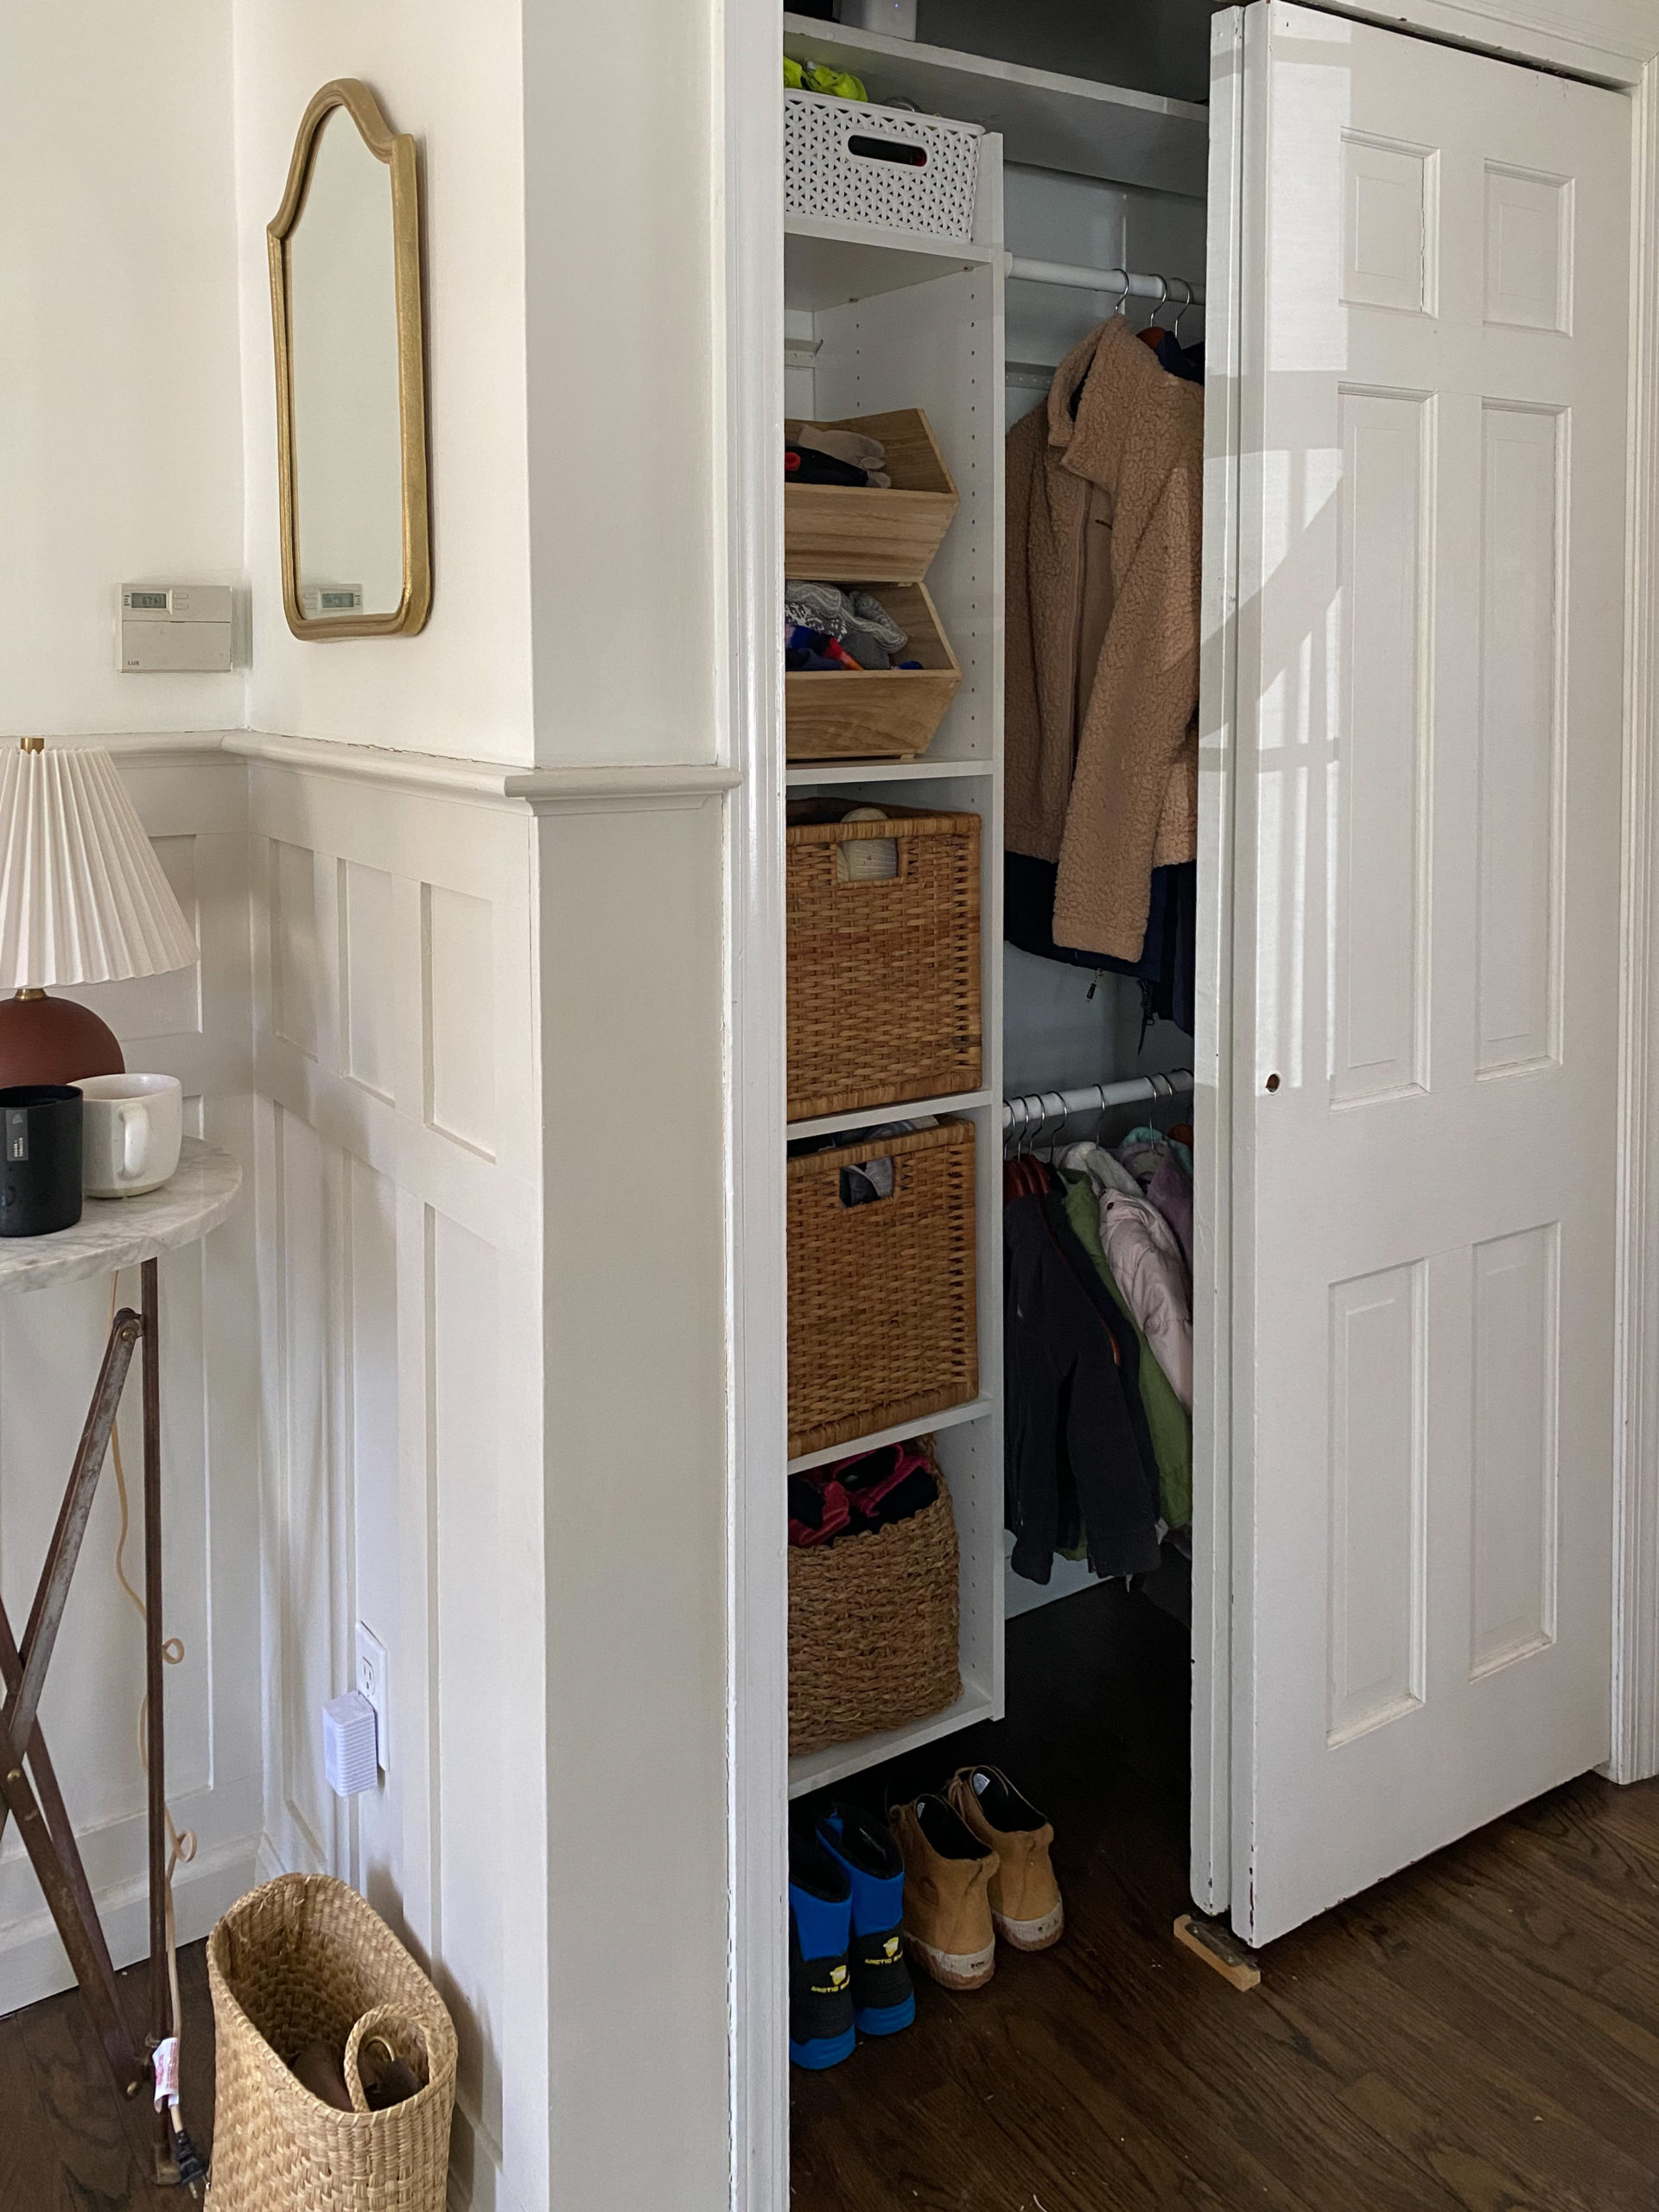
I am SO pleased with the result. It has been a daunting task that I’ve been trying to figure out how to tackle for years and now that it’s done, I’m ready to move onto something else!
I may come back to it in the future to add more function to the shelves but being able to freely open and close the doors, having the kid’s coats within reach and a place for everyones shoes, backpacks, leashes, etc is a total game changer!
If you’ve been putting off a project like this, I encourage you to give it a go. It’s amazing how much rest comes after it’s done.
Below are some sources and links to the closet system I chose, baskets I’m using. Any questions, head over to Instagram to chat!
Closet Sources
Closet System – This system works for closets 36-60″. Our closet is 60″ exactly and I had to trim a few pieces. There are a lot of different configurations you can do and this was the best price I found.
Stacking Bins – I actually repurposed these from my son’s room and I’m currently using them for hat and glove storage while we need them. They are perfect for grab and go items like that. They come in two sizes and I used the smaller size in our space.
Rattan Baskets – I love these baskets because they’re beautiful, but you could do a less expensive option too. They’re big enough to hold about 6 pairs of adult shoes so they worked out great. My kid’s shoes are stored under our entry bench in baskets.
Hangers – These are my favorite hangers because they’re durable and slim.
Plastic Storage Baskets – I have these in just about every size they come in. So versatile and love that they can be easily washed!
Comments +